
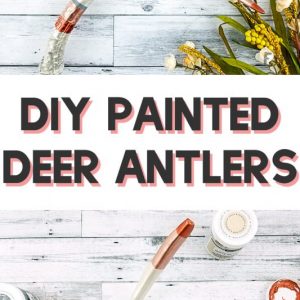
DIY Painted Deer Antler Project
Some links in this post are affiliate links to products I love!
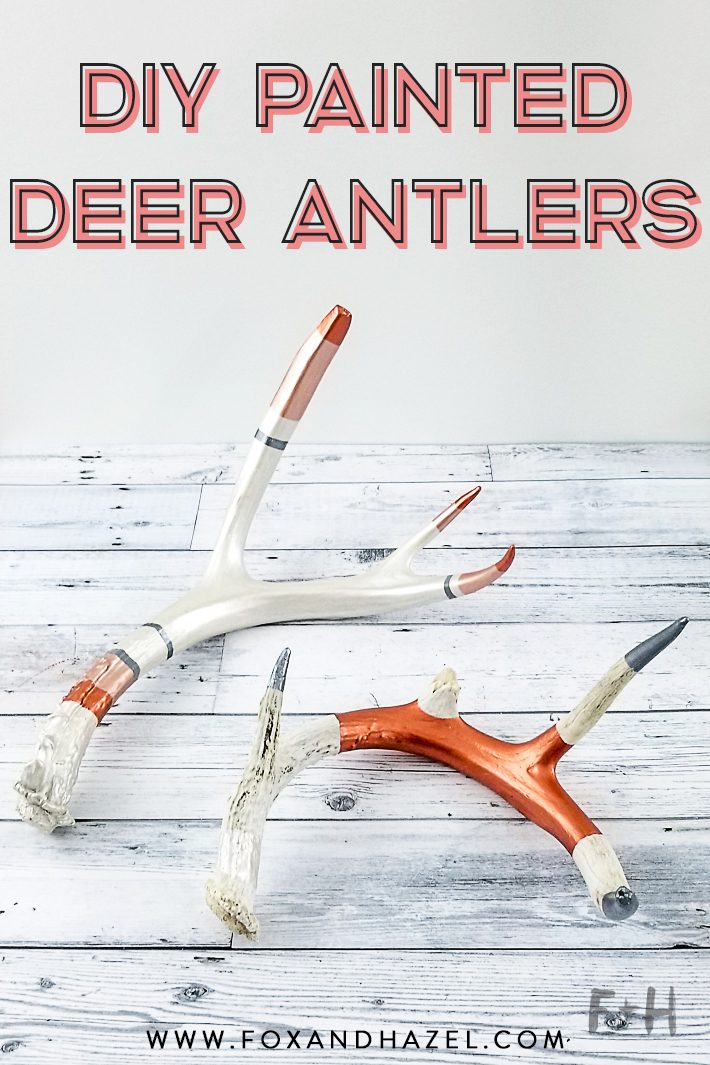
With fall here and all the fall holidays happening, I love the idea of using a painted antler or two to decorate! This deer antler project is fun to create and really only takes a few products. The hardest part of creating a painted antler will be trying to get your hands on some antlers! Luckily I live where the deer roam wild and have a small collection of shed antlers. My husband’s best friend is a farmer and I tasked him with collecting any he found out in his crops. He did not disappoint! I’m not really a fan of rustic or traditional antler decor (mostly because I don’t like hunting or anything about it) but painting the antlers turns them into something totally different! This oho glam type of antler decor is the kind I can get behind.
I’ll show you how to create this really easy deer antler project with just a few paints from DecoArt, an antler, and some time!
Supplies for DIY Painted Deer Antler Project:
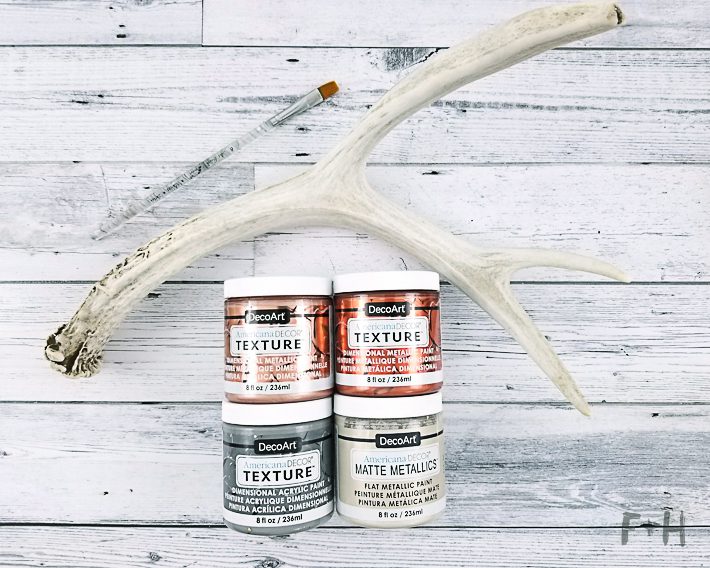
- deer antler (preferably a found one, not a hunted one, but I’m not judging.)
- DecoArt Americana Decor Texture Metallics in:
- Rose Gold
- Warm Copper
- Zinc
- Grey
- DecoArt Americana Decor Matte Metallics Paint in Ivory
- any kind of tape
- paintbrush (unless you want to finger paint!)
Step One:

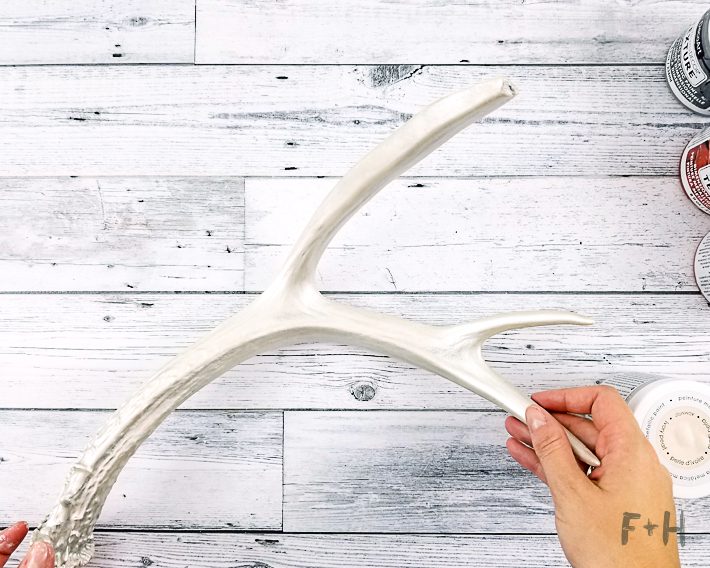
Okay, the actual very first step is to WASH THE ANTLER. I didn’t want to yell but that is a very important step. You want to clean off any dirt or debris that will prevent the paint from sticking.
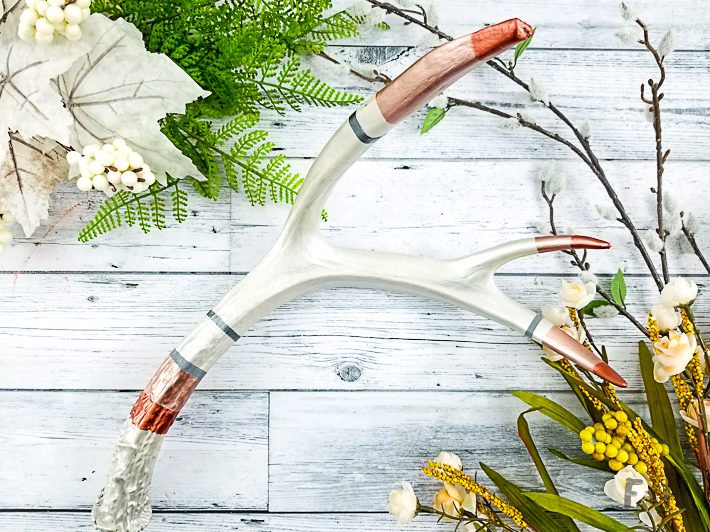
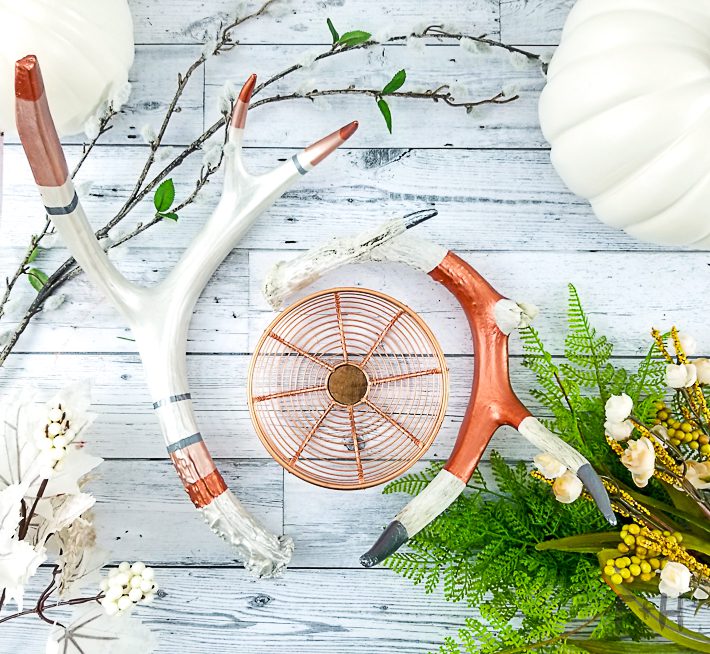
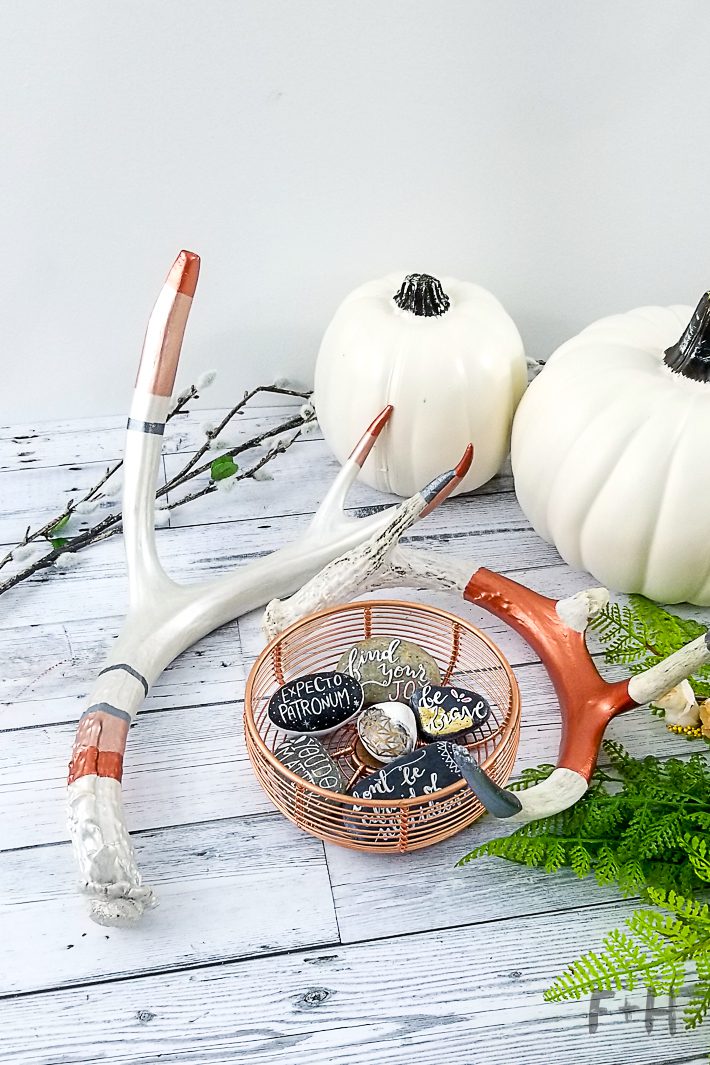
Once the antler is clean, you can go two routes with your painted antler: leave the antler bare for a more rustic look, or paint the entire antler in the Decor Matte Metallic in Ivory. For this painted antler I chose to do two coats of the Ivory all over the entire thing. Let the coats of paint dry in between and completely cure before moving on.
Step Two:
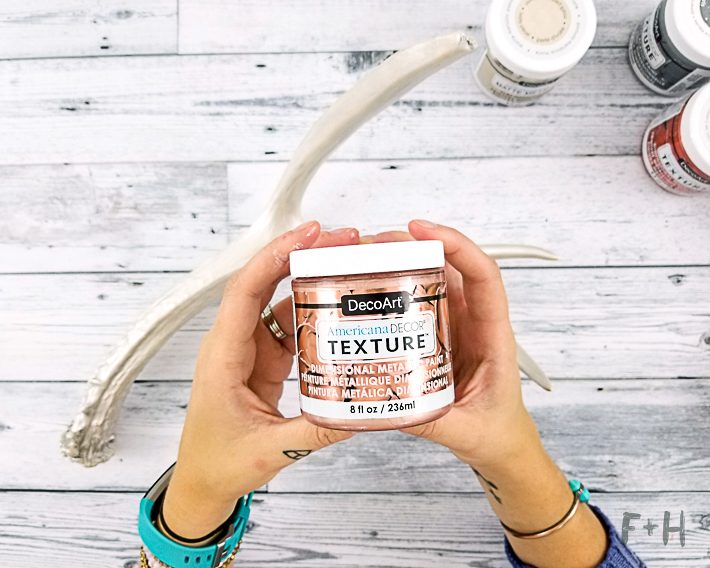
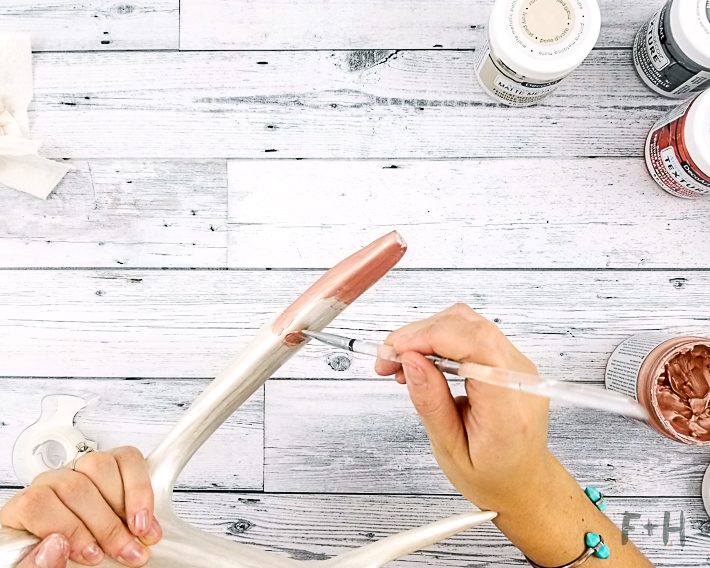

Once the first layer of paint is dry you can move on to adding the metallic accents! I first used the Rose Gold to add some color to the tips. You can either freehand paint this or use a piece of tape to mark off an edge around the antler. This really depends on how confident you are with your painting! I did a little bit of both. The Texture Paint is great for painting like this because it only required one coat! It’s a heavy body acrylic paint that goes on with great coverage.
Step Three:
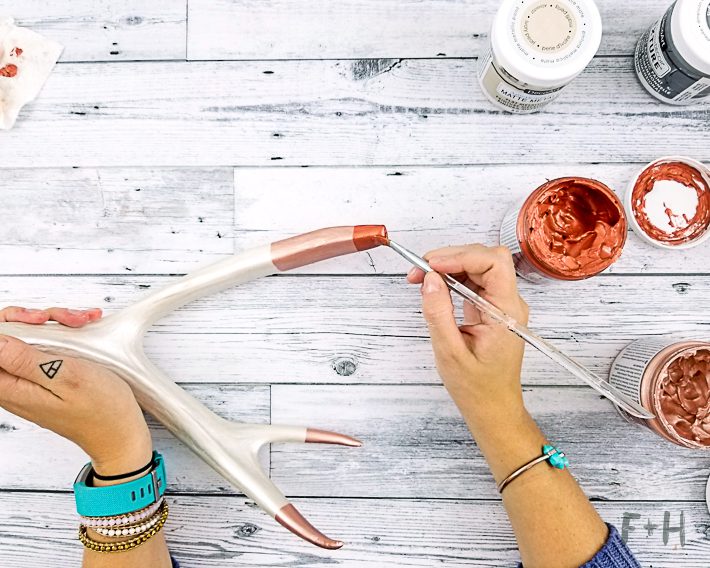
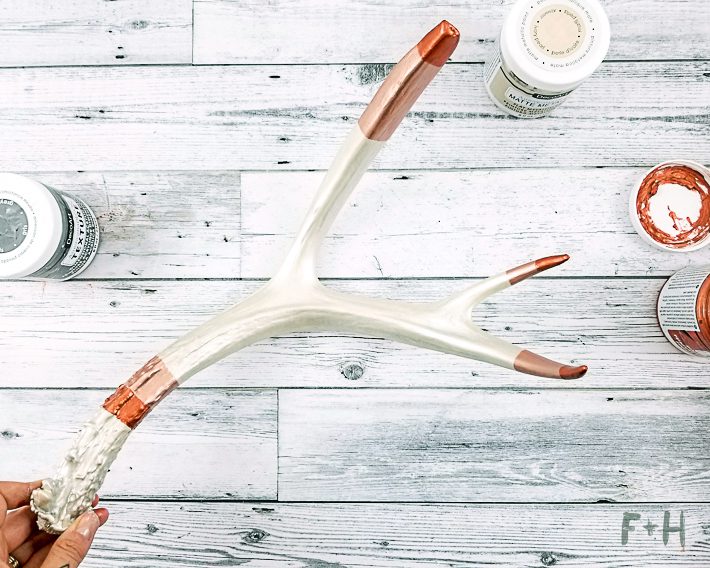
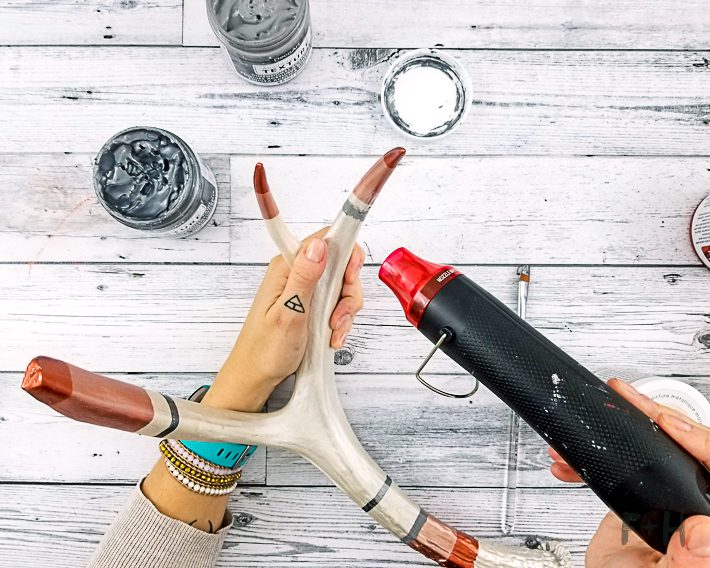
You can just keep continuing to add more rings and layers of paint to the antler. There’s really no wrong way to paint this! Just make sure you let the paint dry in between coats, which you can speed up with a heat gun. Once your painted antler is completely dry you can decorate with it! I particularly like antler decor like this for fall tablescapes!
If you love this post, you can spread the love in one of these ways!


2 Comments
Sue
July 5, 2022 at 10:29 am
Do you put some kind of clear sealant after it’s painted? I use a metallic gold colored spray paint, and there are places now where it’s scratched off. It’ll be used as an outdoor display, hung.
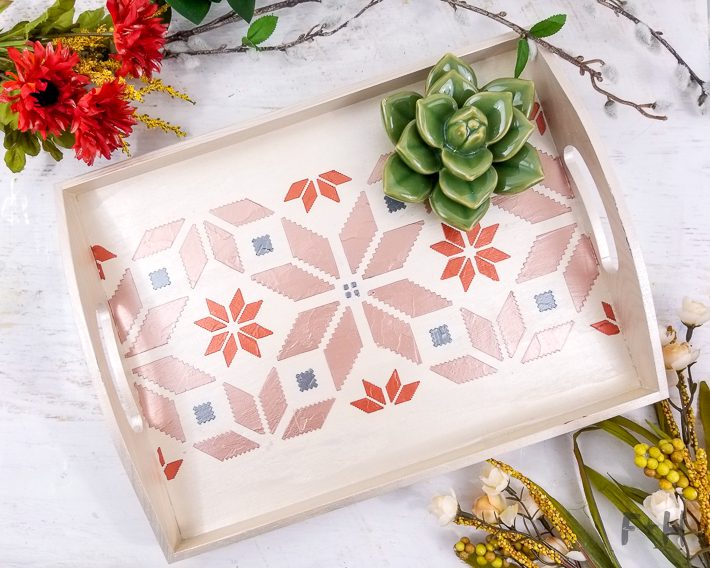
DIY Decorative Wood Tray for Fall | Fox + Hazel | free art + designs
August 26, 2021 at 10:12 pm
[…] in the warm autumn colors, and it goes great with some of my other DIY fall decor ideas (like these painted antlers! or this fall watercolor floral print!) I actually think would be a really lovely decor piece […]