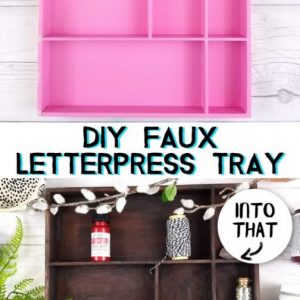
How To DIY a Faux Letterpress Tray with DecoArt
Some links in this post are affiliate links to products I love!
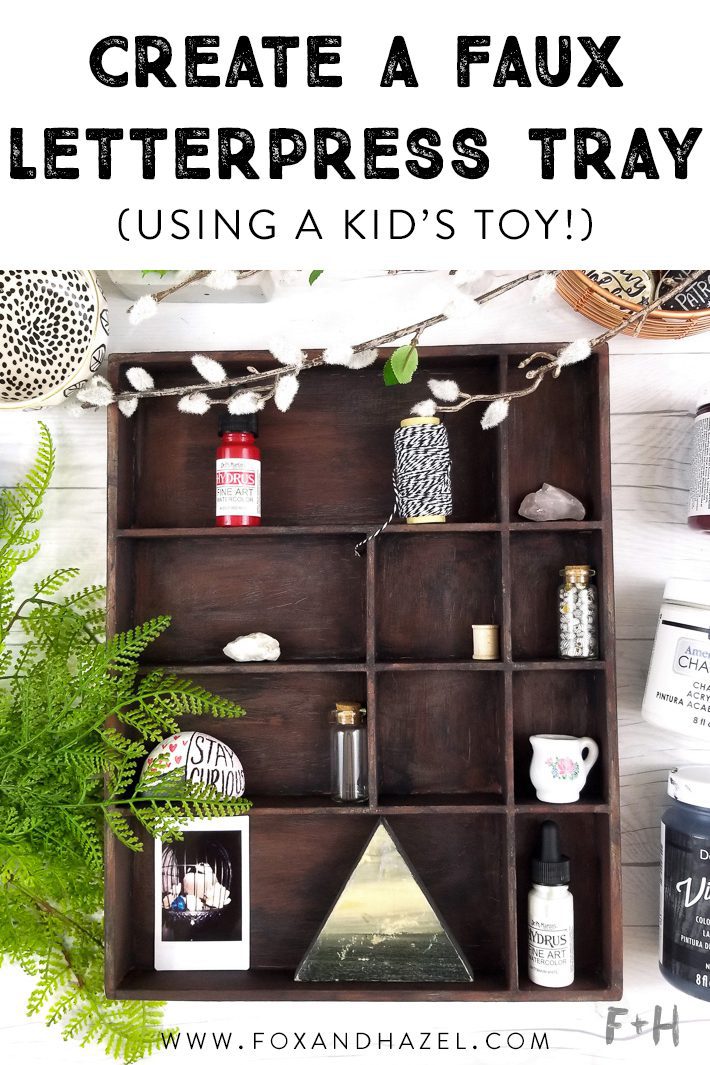
This project has been brewing in my head for a couple of weeks now, and I’m so excited to be finally sharing this faux letterpress tray! I am absolutely obsessed with all the gorgeous letterpress tray drawers people are using as display shelves. They are just so darling and lovely, but they are damn hard to find around here! I swear my city has terrible thrifting and flea markets because they all get picked over by the antique shops around here.
I digress. The idea for this DIY faux letterpress tray came to me when I was cleaning out my kid’s toys. This tray is from a Melissa & Doug doll set my girls had, and as soon as I saw the empty tray I immediately thought of a letterpress tray. I was itching to get this project started and finally had some time this weekend! To make it as simple as possible, I’m using chalk paint so I don’t have to prep anything ha.
So, read on to see how you can turn a kid’s toy into a faux letterpress tray!
Supplies Used Today:
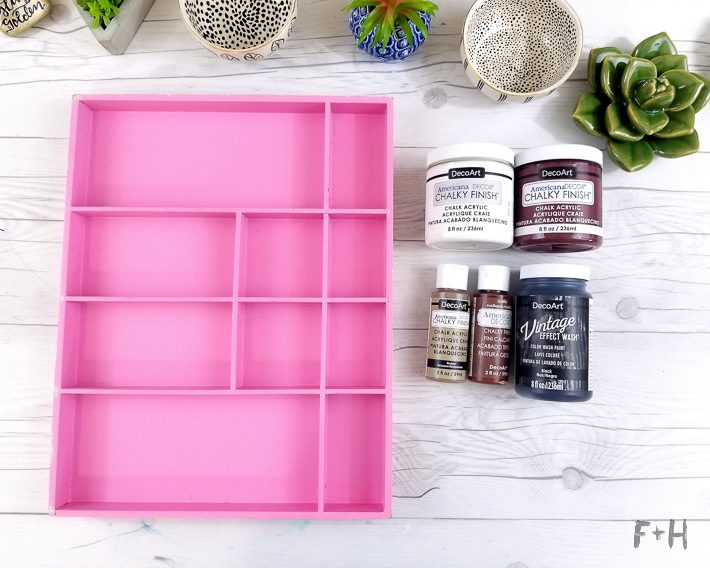
- shallow wooden try (I used this tray from a Melissa & Doug Magnetic Dress-Up Doll Set)
- Americana Decor Chalky Finish in Everlasting
- Americana Decor Chalky Finish in Renaissance
- Americana Decor Chalky Finish in Rustic
- Americana Decor Chalky Finish in Restore
- DecoArt Vintage Effect Wash in Black
- paint rags
- natural bristle brushes (literally cheap soil brushes work!)
How To Make A Faux Letterpress Tray
Step One:

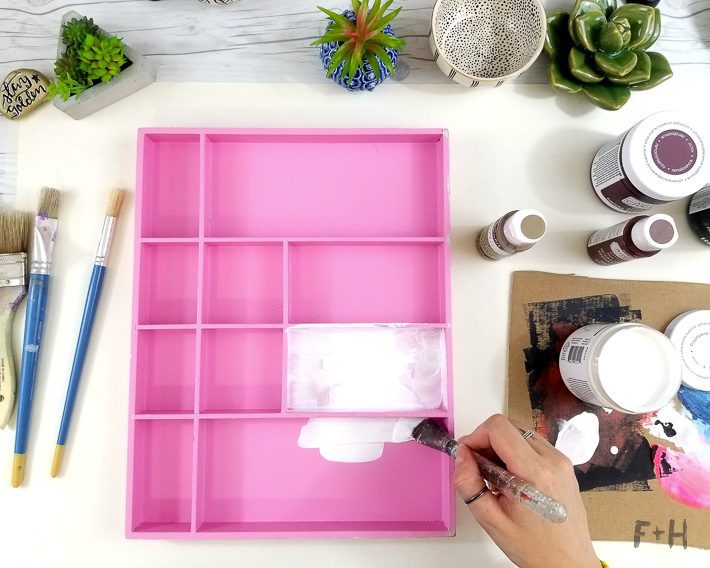
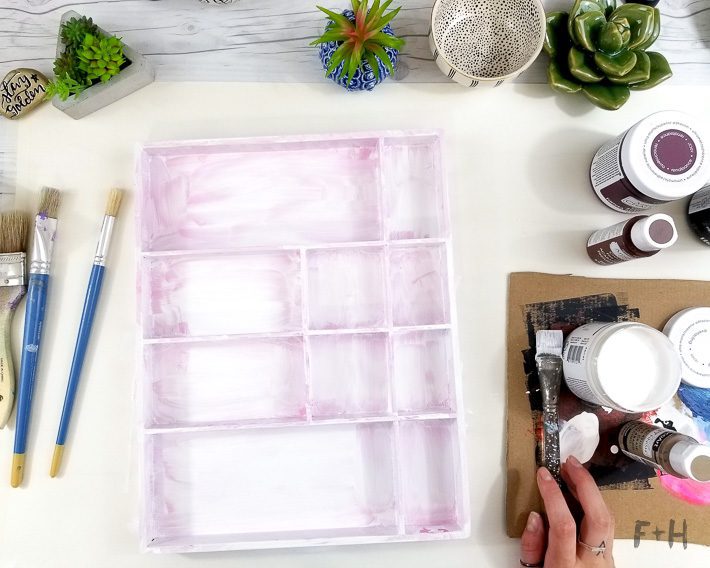
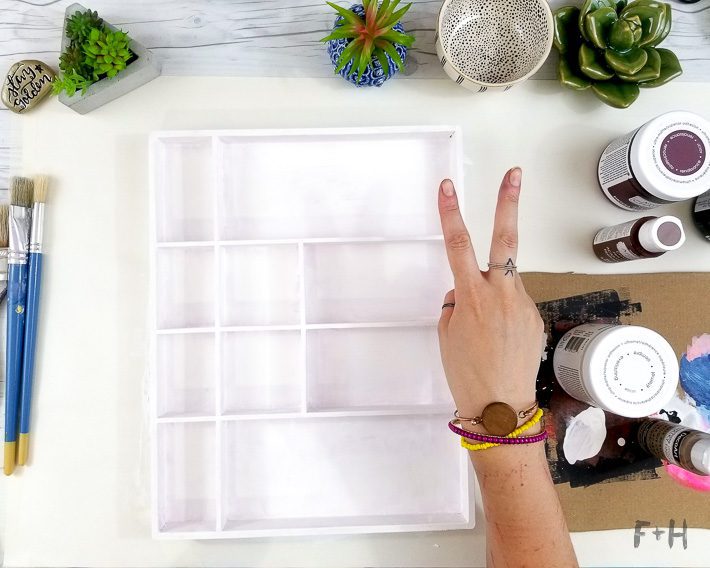
First, using a larger paint brush, apply a coat of white chalk paint to the entire wooden tray. I decided to apply the white paint first to try and cancel out the hot pink underneath. Apply two good coats on the entire tray to really get rid of that damn pink! If you’re using an unfinished tray, you could skip this step.
Step Two:
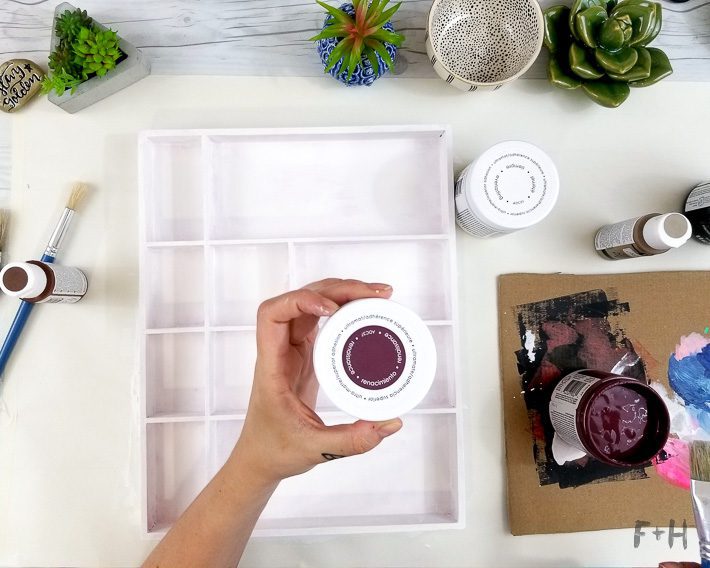

For the third coat, I applied a coat of Renaissance. This is actually quite red/purple, almost maroon shade. This seems counterintuitive but I wanted the tray to look aged with a rich undertone. So, instead of applying a brown shade first and trying to deepen it, it works a lot better to apply a deep undertone to bring depth and richness to the finished tone.
Use another thick brush and apply it in a very haphazard way, haha. To help the finished paint look more realistic, a really wild and loose paint job helps. If I painted this all evenly, it would end up looking flat. This is the third coat. **(also, ignore my weird number hands! At some point, I decided that I would indicate each coat with my hand, but I see now that it’s confusing. It was late when I photographed this. So please, disregard my weird number hand signs.)**
Step Three:
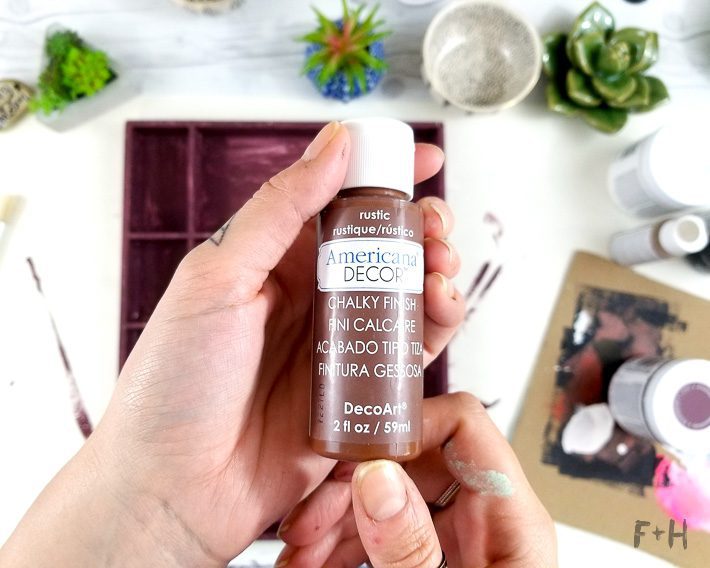


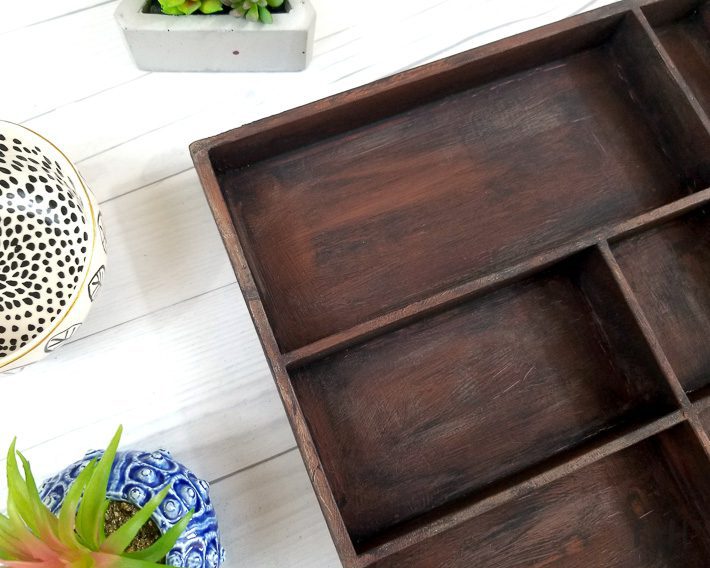
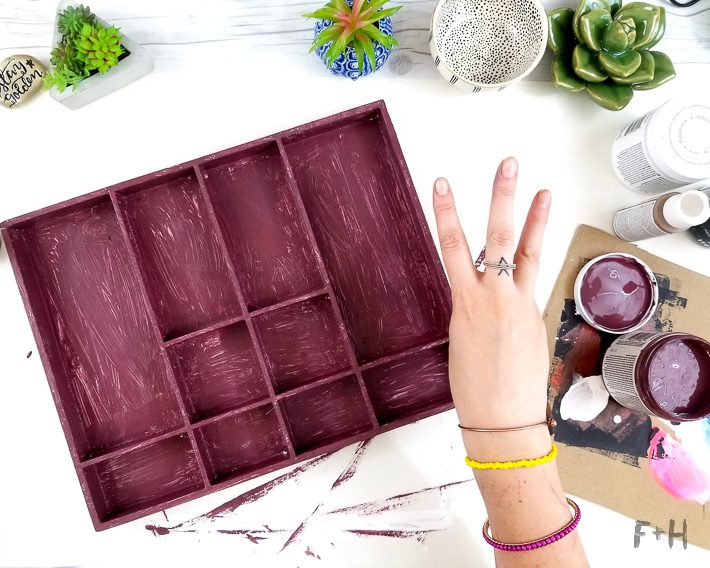
Next, I applied one coat of Chalky Finish paint in Rustic. This is a warm medium brown and is the base color for this faux letterpress tray. Again, I applied it with a coarse bristle brush and added just one thick coat. Tip: while applying the paint, try to have all the brush strokes going the same direction, either horizontally or vertically. This will help create the illusion of wood grain on the finished tray! This is the 4th coat of paint. You’re welcome to add a second coat of Rustic if you’d like, but I felt that one coat was suffecient.
Step Four:
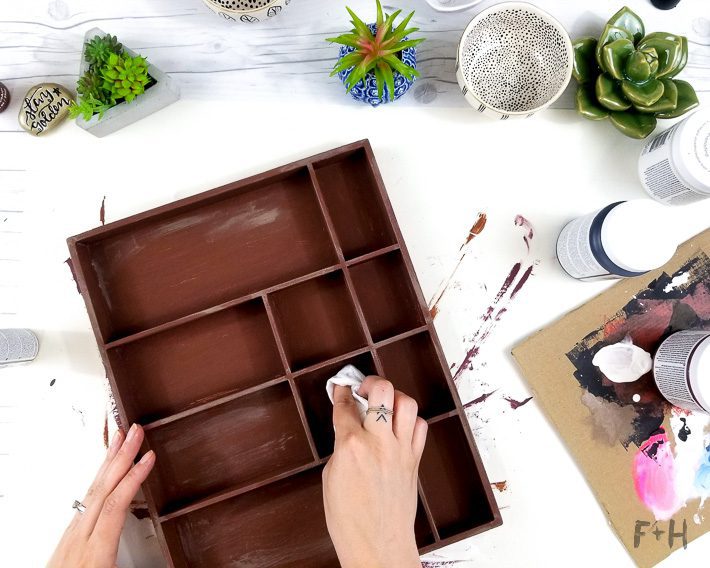
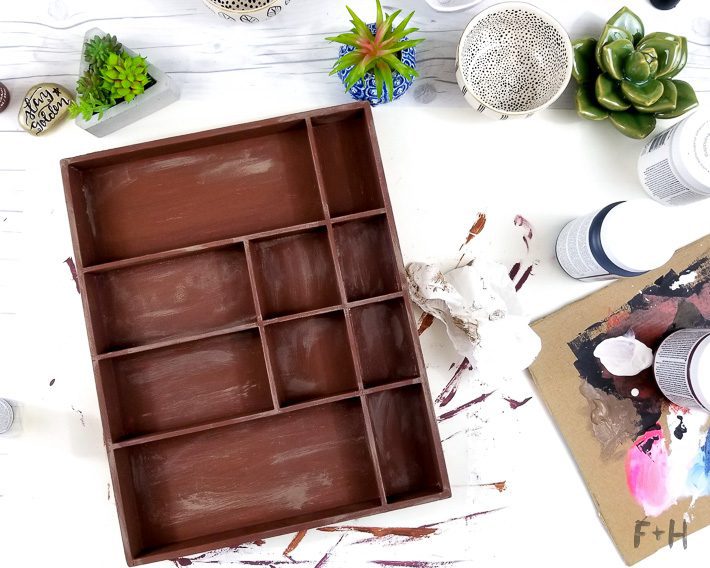
Next, using the Restore shade of Chalky Finish paint, I used a dry brushing technique and some paint rags to lightly rub/brush it on. You want to go light on this coat and just add some highlights and such to help create more variety in the finish. You can go really easy on this part because too much of the light brown will overpower the deeper tone we’ve built up.
Step Five:
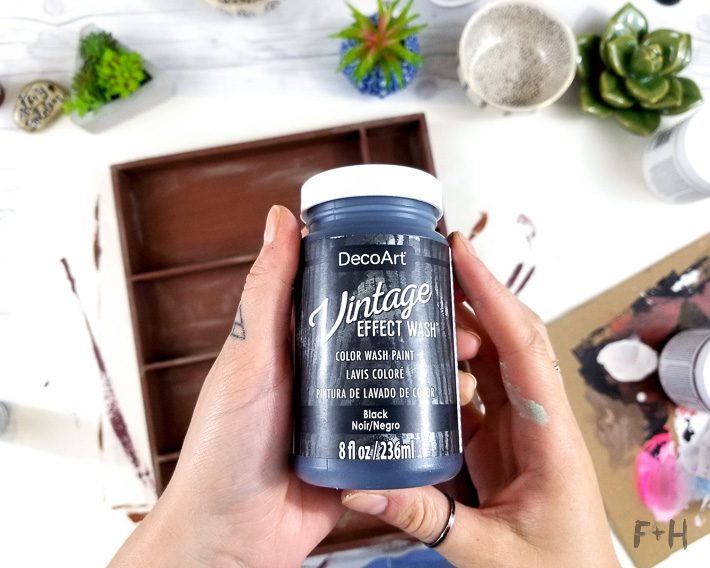

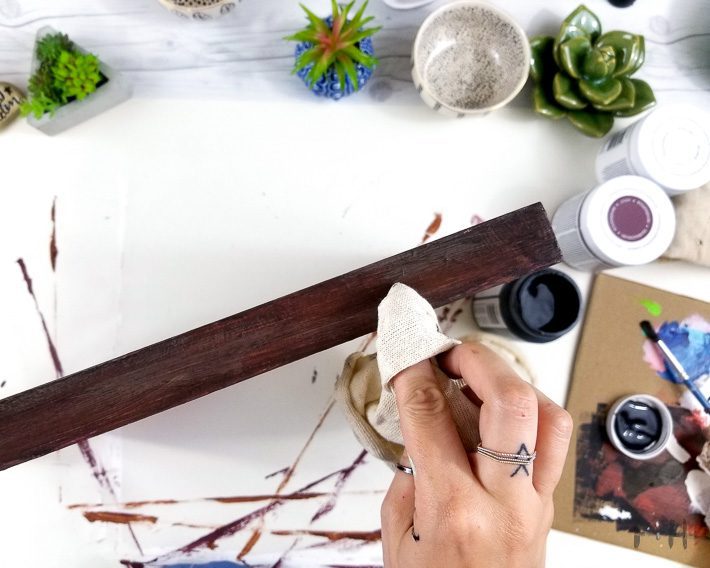
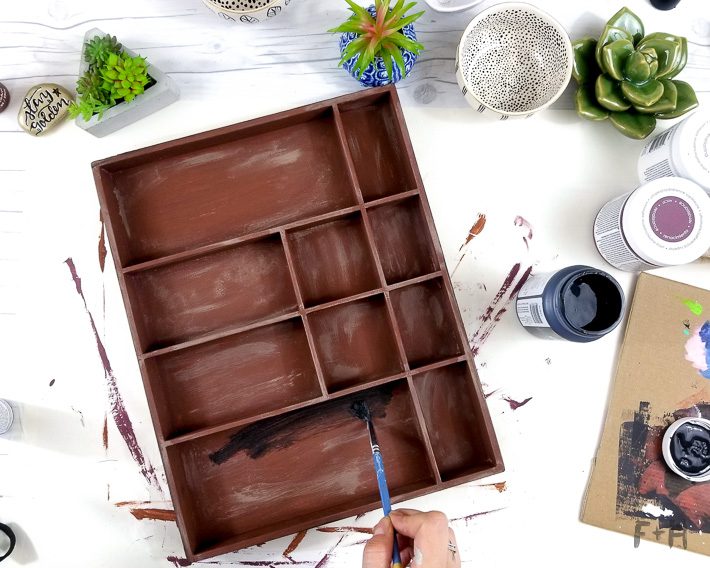
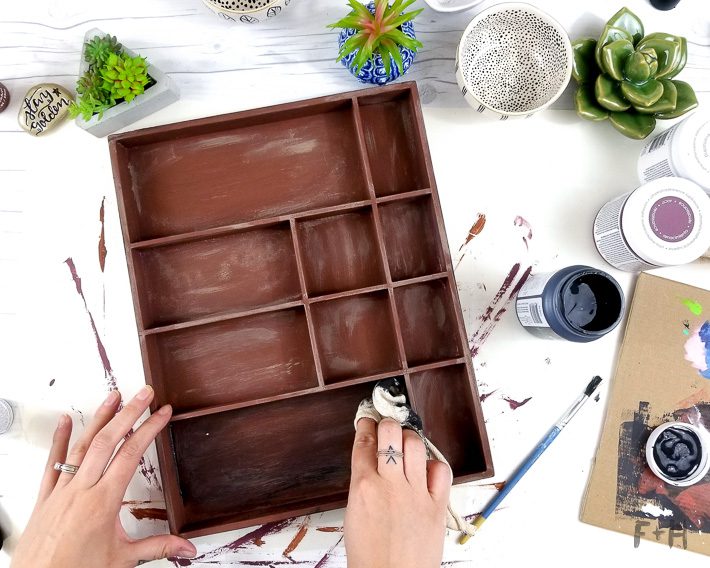
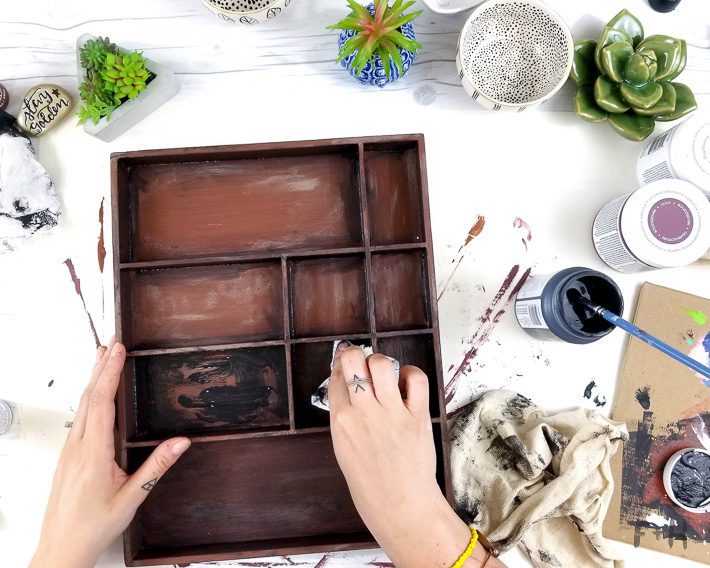
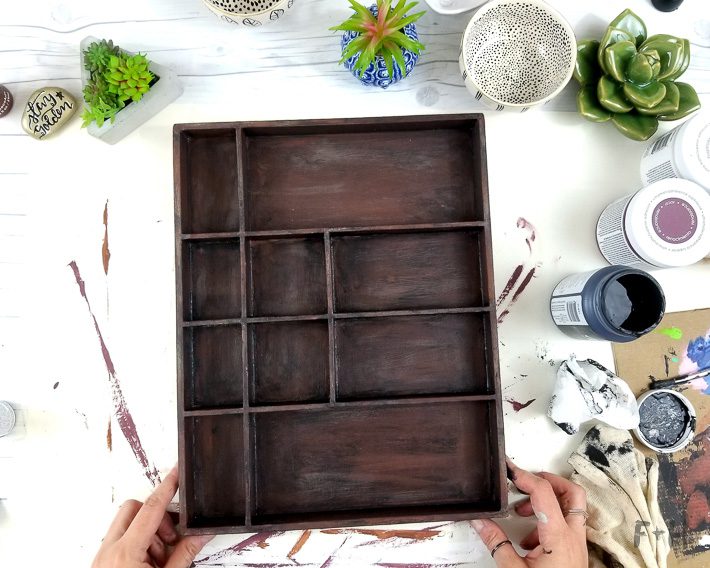
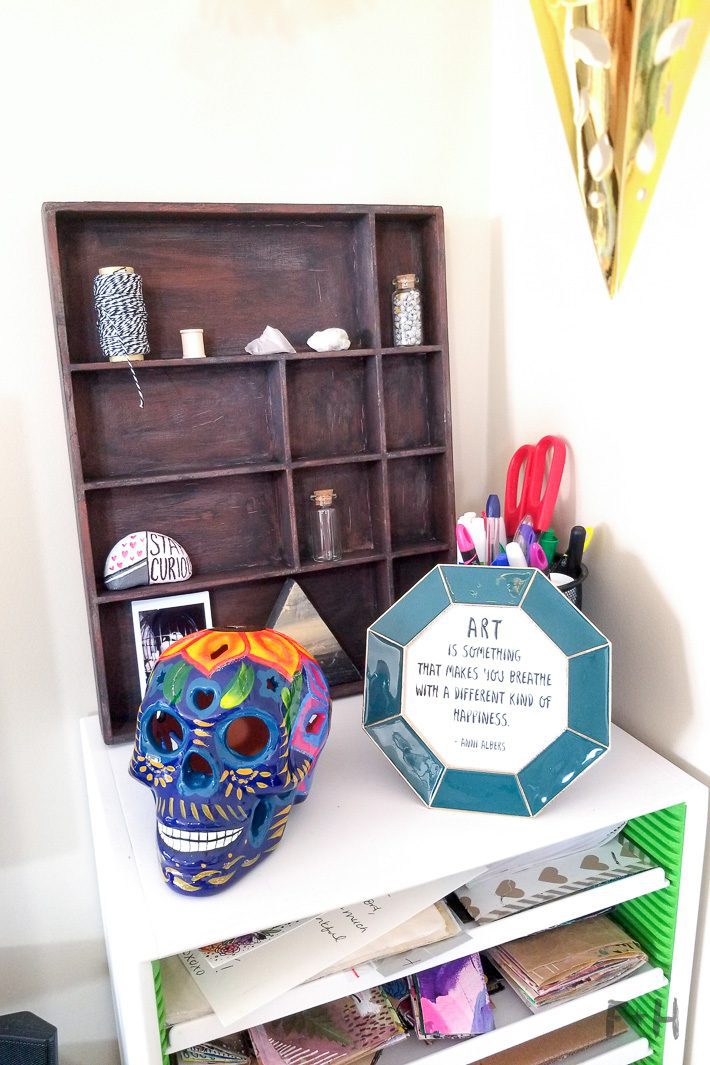
The last step that really brings this all together is to apply two coats of Vintage Effect Wash in Black. The method I used was to apply the paint with a brush, let it sit for about 30 seconds and then wipe it off with a paint rag. The Vintage Effect Wash paint is really cool because it’s already quite transparent and does create a really lovely wash effect on top of the chalk paint. And this paint also acts as a sealer, so once you’ve added your second coat and let it dry, you’re done!
How great did this turn out!? I was pleasantly surprised how good it ended up being, just because I’m always wary of faux distressing things. I think the key to the success was the use of the really stiff bristle brushes. They helped created a woodgrain type texture in the paint and helped this faux lettepress tray really come to life!