
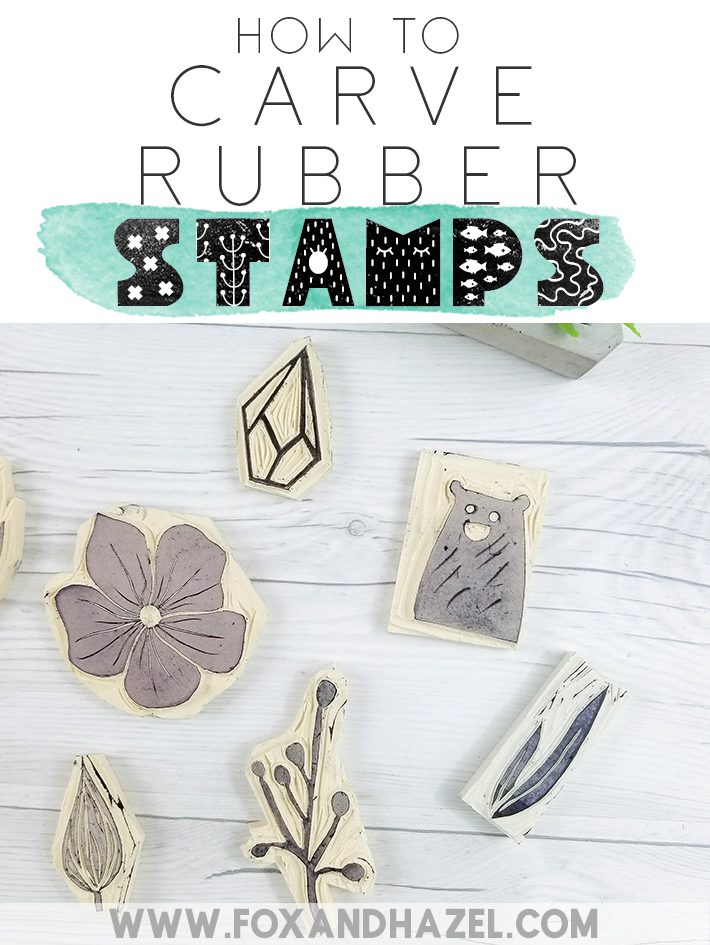
DIY Hand Carved Rubber Stamps
Some links in this post are affiliate links to products I love!

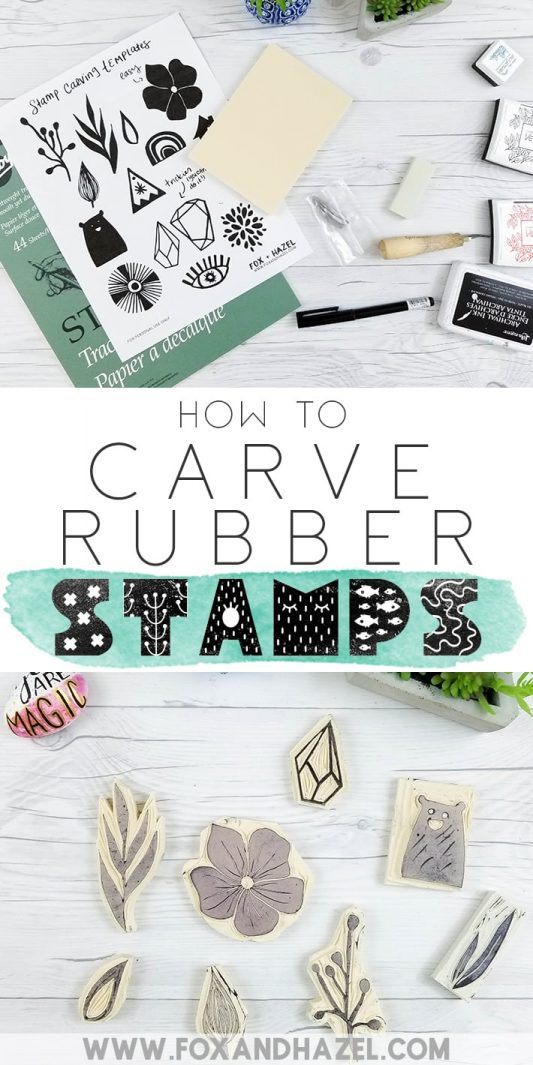
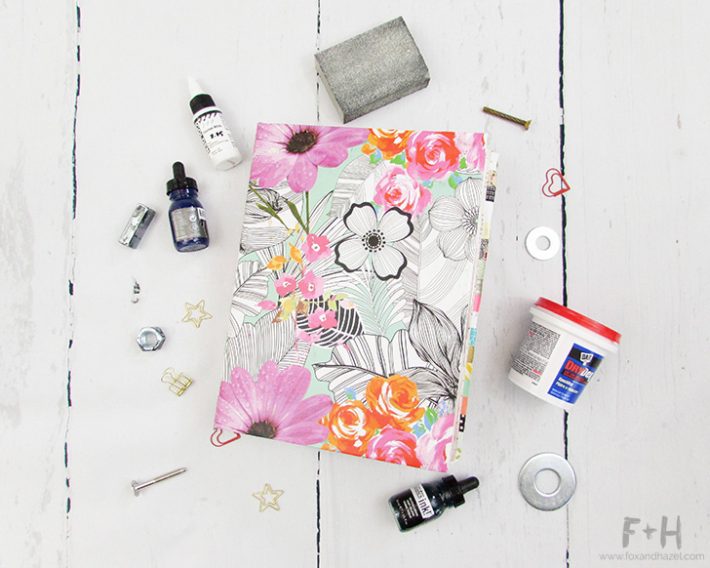
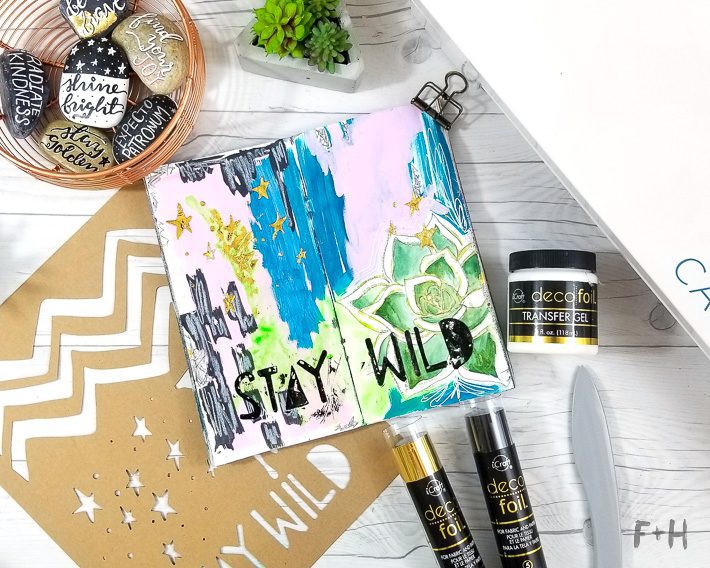
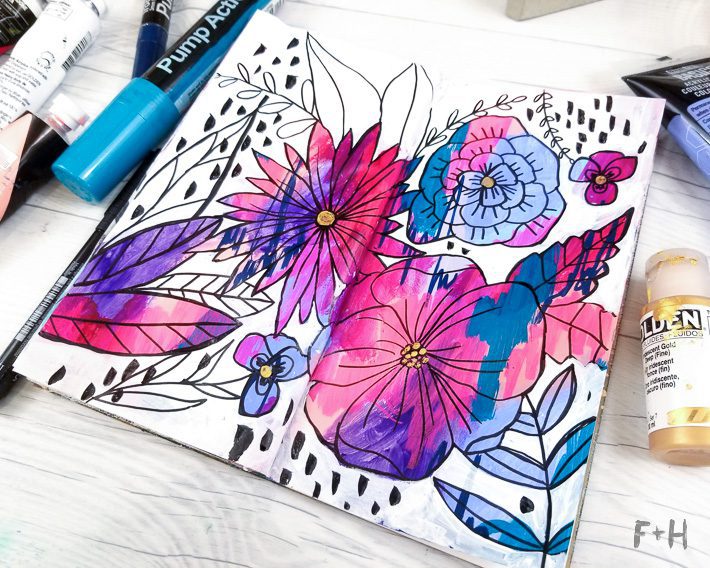
If you’ve ever wondered how to get started making your own DIY hand carved rubber stamps, then you are in the right place! I started carving my own stamps a couple years ago for my art journals. Once I saw stamp carving online I knew I needed to try it! I loved the freedom to create my own designs instead of hoping to find a stamp I liked. It might seem a bit daunting at first, but it’s really easy once you understand the basics. Before you get started, you’ll need a couple of beginner stamp carving supplies:

Supplies for DIY Hand Carved Rubber Stamps:
- Stamp carving blocks OR
- white erasers
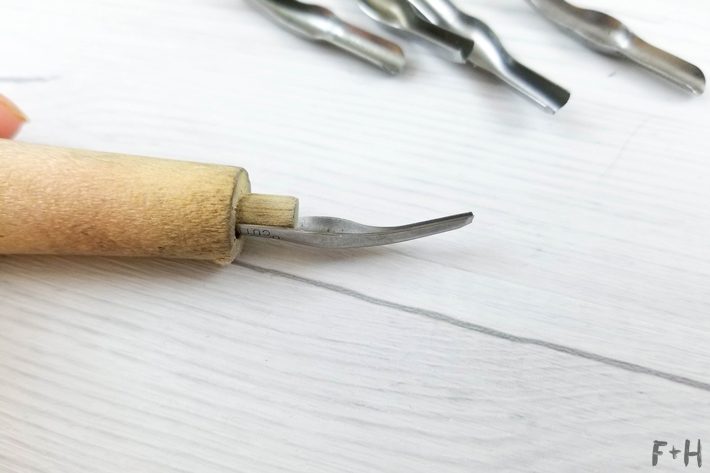
- linoleum cutter handle + blades
- tracing paper
- soft lead pencil
- X-Acto knife
- ink pads (this is my favourite black ink pad!)
- black marker
- this FREE STAMP TEMPLATE just for you
You can buy the stamp carving supplies individually, but you can also grab this Stamp Carving Kit by Speedball. However, it only comes with two blades (#2 and #4) and one rubber carving sheet. It’s awesome if you aren’t sure if you want to continue making your own DIY hand carved rubber stamps, but it’s not super versatile. I personally recommend getting a separate linoleum cutter and rubber sheets to get the range of blades. My handle here is from the aforementioned starter kit, and I supplemented my blades later on as I started carving more. Looking back, getting the linoleum cutter with all the blades would have been more efficient and cheaper in the long run.
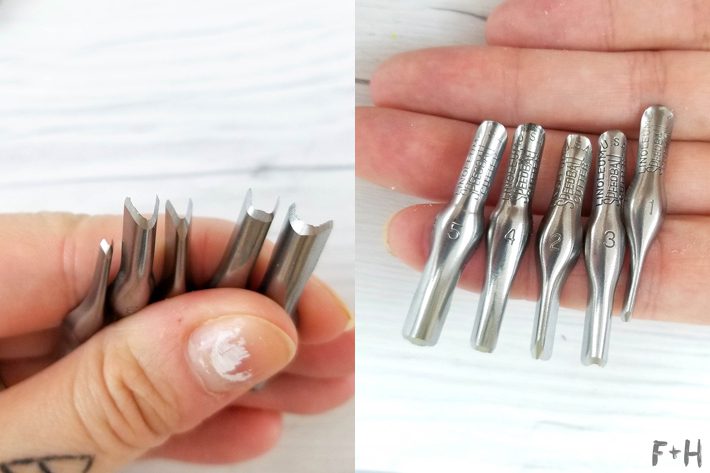
Here you can see the range of blades. Blades #1-3 are V-shaped cutters, going up in size. The finest blade is the #1, which is great for details. After the V-shaped blades comes the #4 blade which is a square-shaped blade – it is 2nd from the right and you can see it has a flat bottom. This blade is best for carving large areas that don’t need much detail. And the last blade is #5 which is a large U shape, which is meant for large areas as well.
Now, on to how to make your own DIY hand carved rubber stamps!
How to To Make DIY Hand Carved Rubber Stamps
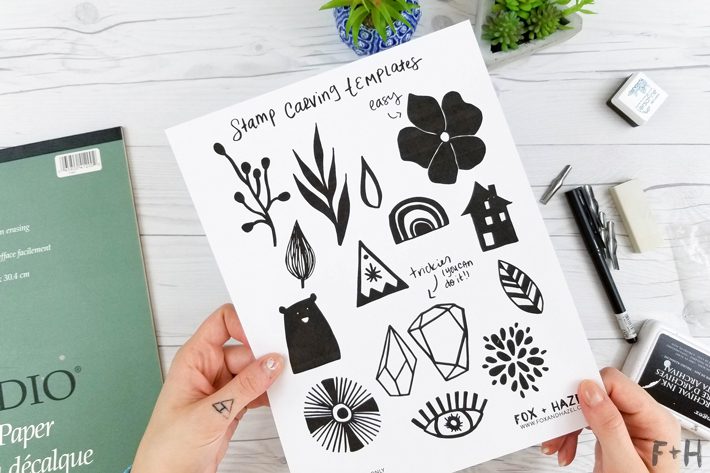
To help you get started, I’ve created this stamp carving template of some drawings for you. Sometimes the hardest part is coming up with designs to carve! I’ve done some drawings that range from easy to moderate to carve. The most important thing to remember when carving stamps is that whatever image you carve, will stamp in reverse. This has tripped me up SO many times. So if you want a word, an image, something that is direction specific, remember to invert the image BEFORE carving.
Step One:
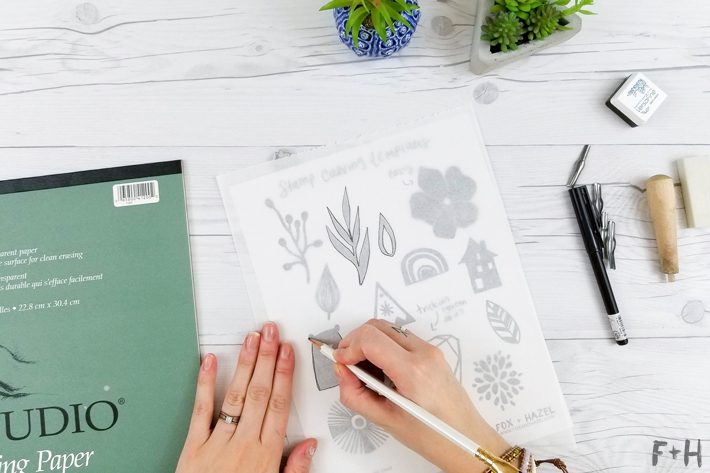
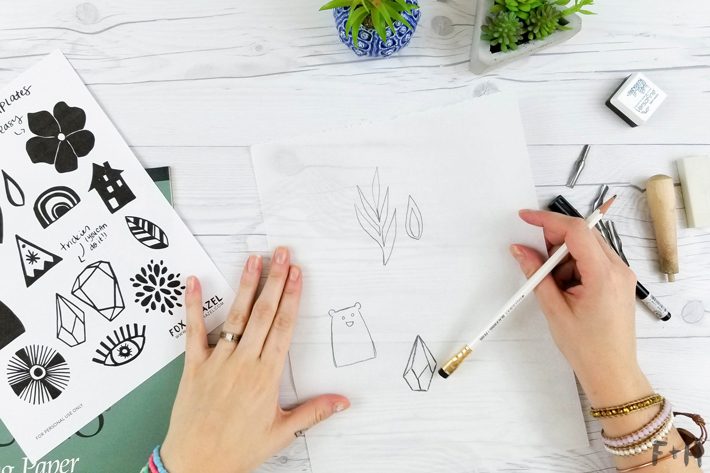
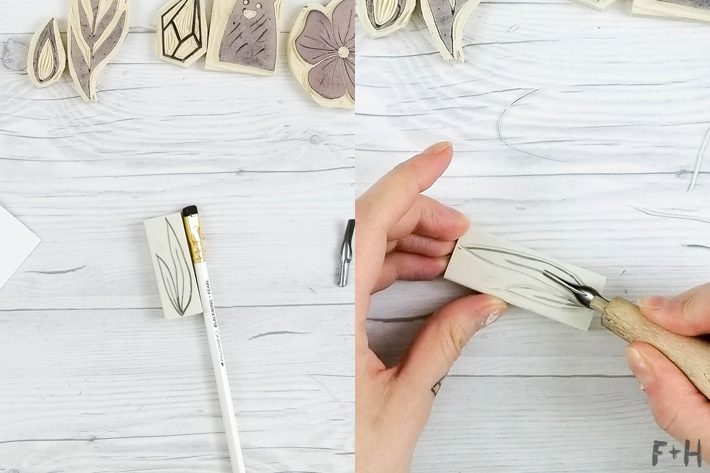
Use a sheet of tracing paper to trace over your design that you’d like to carve. Include as much detail as you’d like. When starting out with stamp carving, I recommend trying easier shapes and simple images to get the hang of it. The stem/vine and leaf designs on the template are great beginner shapes to work on.
Step Two:
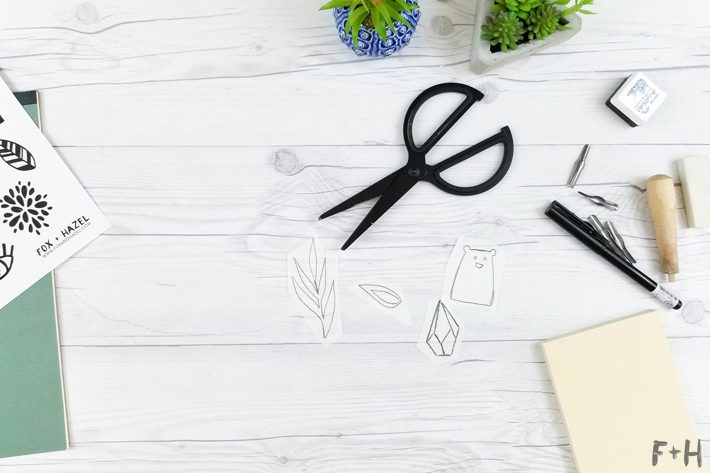
Now, you can cut out the tracings to transfer on to your rubber sheet. You can also leave them whole on the sheet, but I find the smaller pieces of paper easier to use. Use the back end of a pen or anything to rub the traced image, pencil side down, on to your rubber block. It should transfer easily and leave a rubbing on the rubber sheet. Next, use your craft knife to cut out some rough stamp shapes.
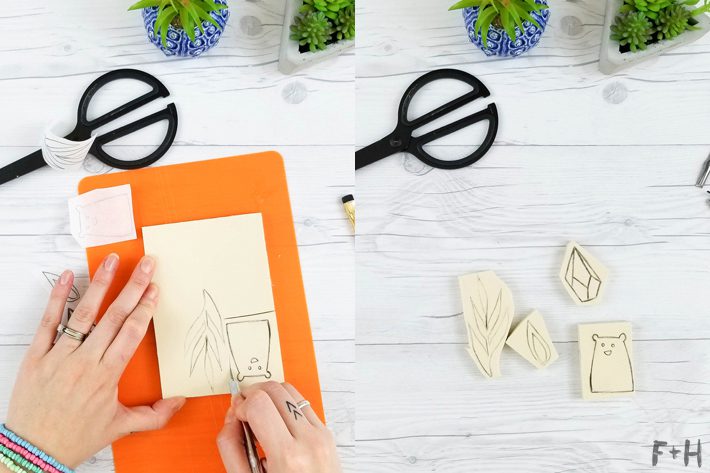
You want some rubber around your image so you have something to hold onto when you stamp. If you don’t leave enough rubber to use as a grip, you’ll find stamping really tricky!
Step Three:
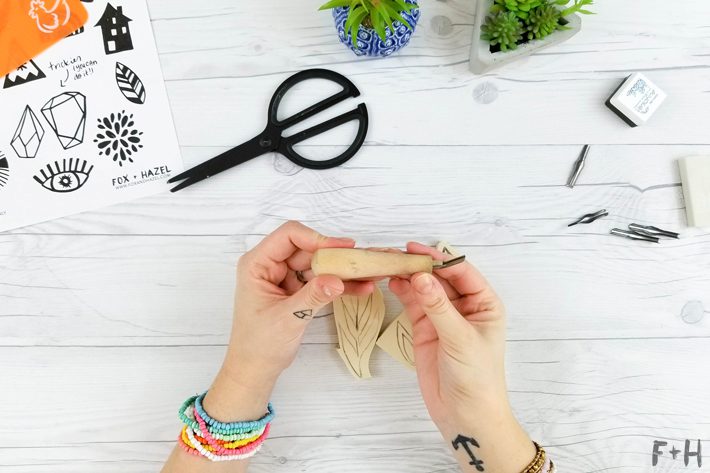
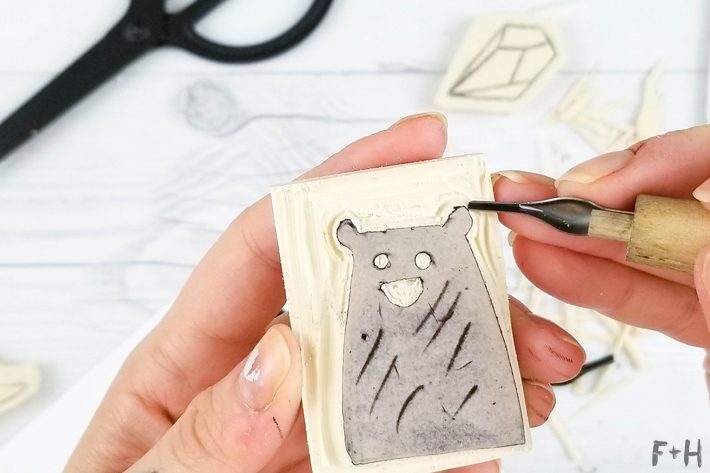
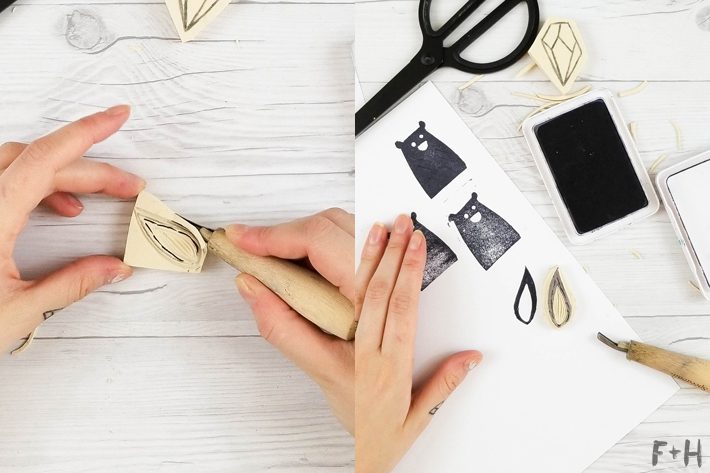
Outfit your cutting handle with the #2 blade. This is a good size to do the outline of your image.
My method of carving stamps (and you may find your own way) is to carve the outline of the main image first, then carve away the major megative spaces, then go back for details. This is just how my brain works, so I’m showing you how I do it my way.
Tip: Be mindful of your blade and always stop your cuts a little shorter than you expect! So often I’ve over cut a line or detail because I went a hair too far. This is so easy to do, so proceed with caution and go as slow as you need! You can always carve away more rubber, but you can’t add it once it’s gone. I always approach stamp carving with a conservative hand so I don’t cut away more than I intend.
TIP: If you have a hard time visualizing where the negative space in your stamp will be, use a marker to color in the areas of the stamp you want to keep. Then carve away everything else. This is super handy for people like me who have a hard time telling left from right most days.
Once you start carving you will get a feel for how the blade interacts with ther ubber. You’ll find that it cuts a lot easier and smoother than you first expect! Which means it can be easy to carve a wobbly line or get out of control. A steady hand will be helpful. Tip: Keep your blade steady and turn the rubber sheet to carve your design. This always produces the smoothest cuts for me, so I recommend trying it out.
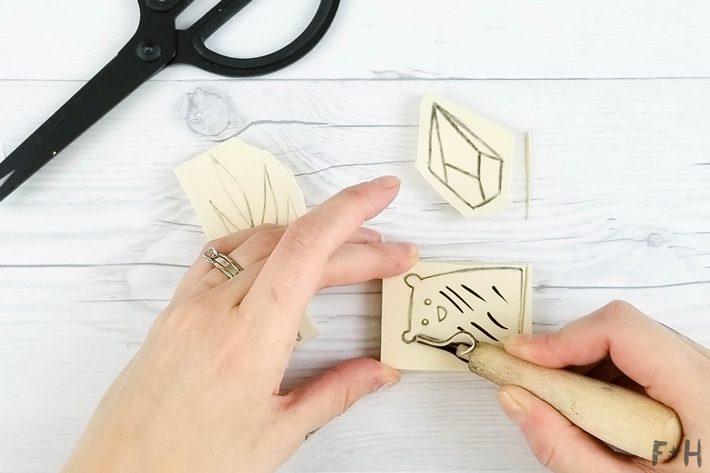
Step Four:
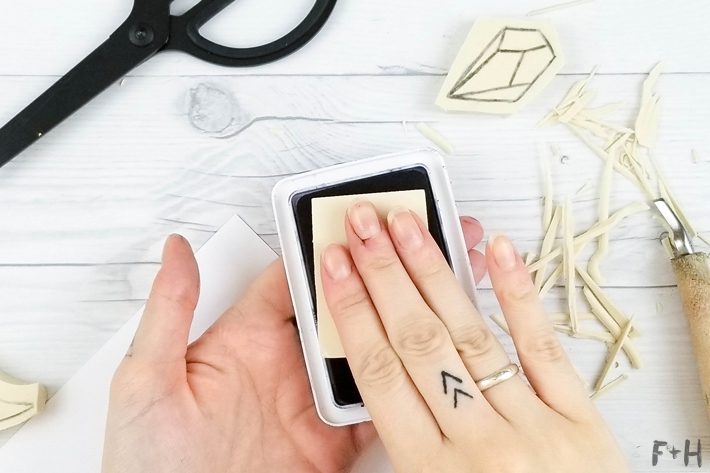
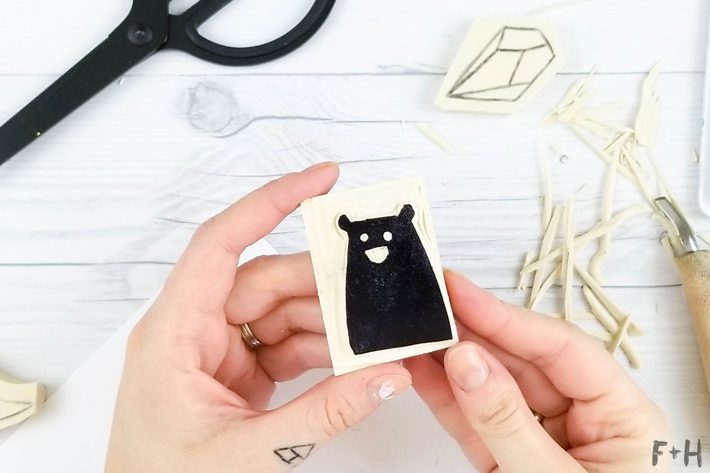
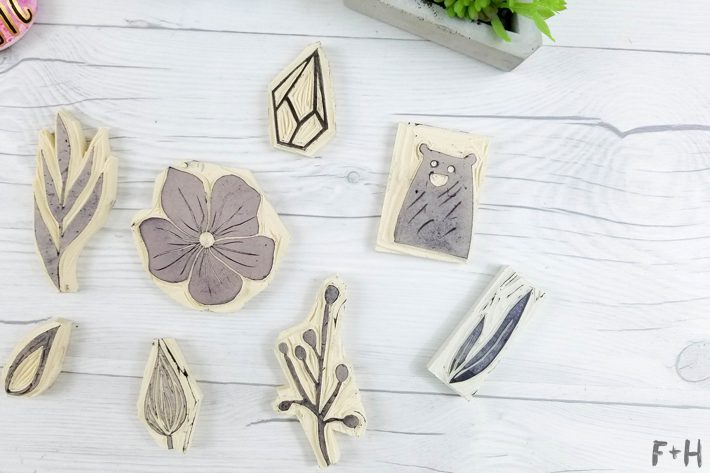
When you’ve carved your entire design, you can test it out! This is also a great time to refine your design and fix any areas you need. You can see my bear is looking a liiiiiiiiitle wonky here with the ears different shapes and the outside edge has some rough spots. That’s totally fine! Do not beat yourself up if your design comes out a bit wonky. You’re just starting out, and the quirkiness is why we are making our own DIY hand carved rubber stamps!
Clean off your stamp onto some paper, and go back in with a #1 or #2 blade to clean up any edges or details you need. Keep refining your design until you are happy with it!
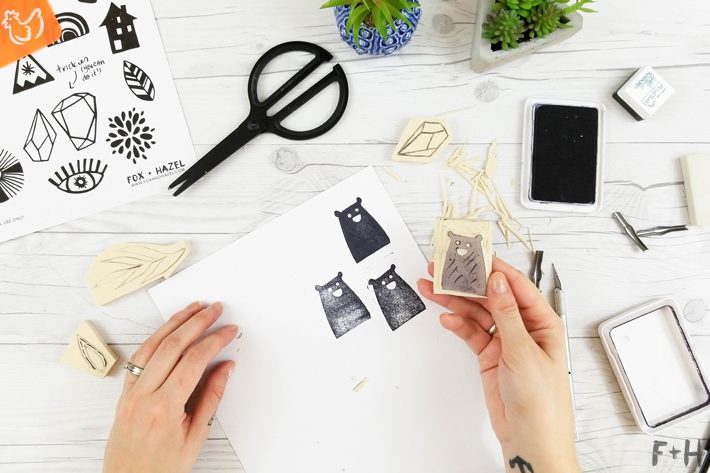
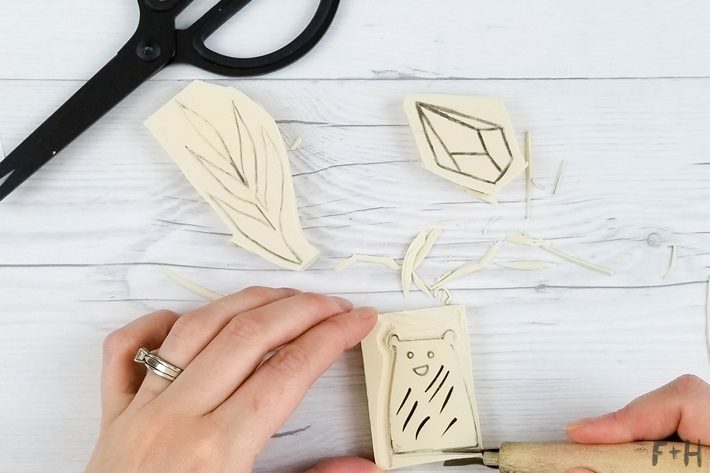
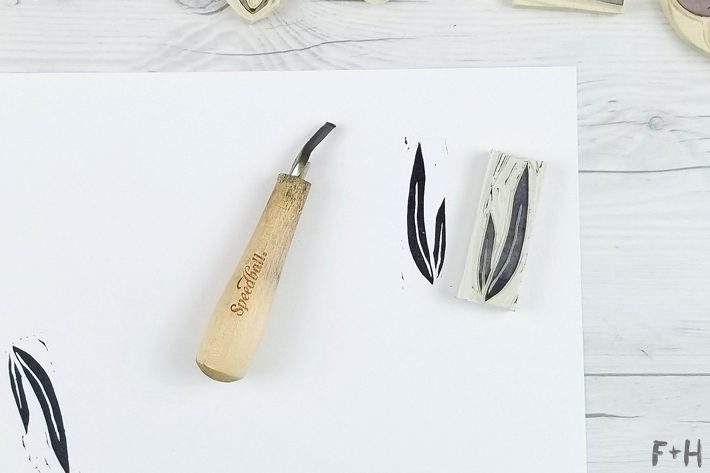
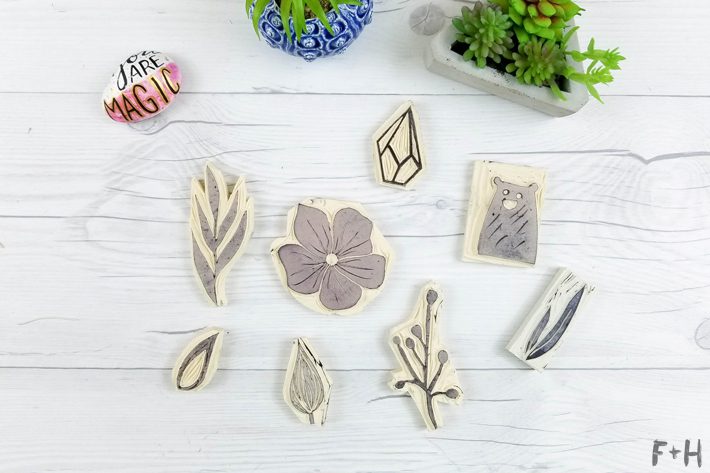
There! You did it! You finished your first DIY hand carved rubber stamp! You’re a rock star! Stamp carving really isn’t too hard and quickly can become addictive! I love making simple shapes that can be used in patterns, for ghost images and creating motifs – like this leaf shape below.
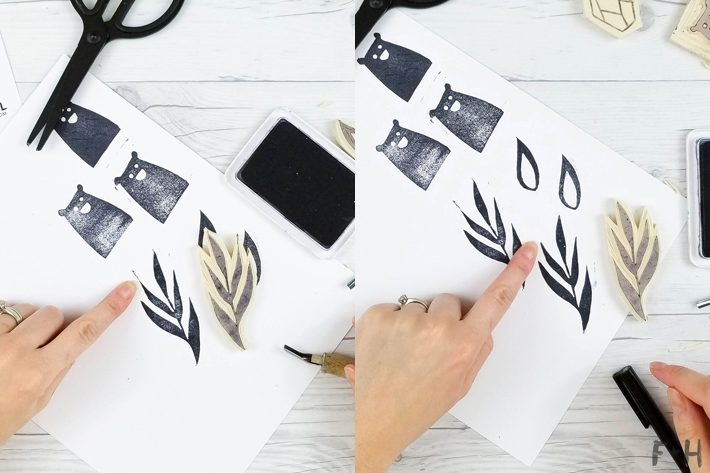
You can see here on this stem stamp that I had some extra bit around the outside of my design that I did not carve enough. This is totally normal and easy to fix. Just carve away those areas until they are deeper than your design, and it’s fixed!
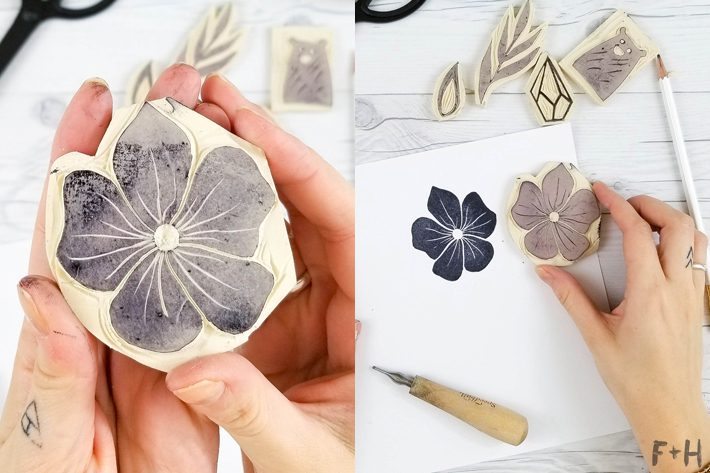
Another easy design on this template I shared is this flower design! There’s minimal carving needed and it makes a lovely stamp! The veins in the petals here are also a great use of the #1 blade, which is the finest and smallest one. It creates really lovely details on your stamps!
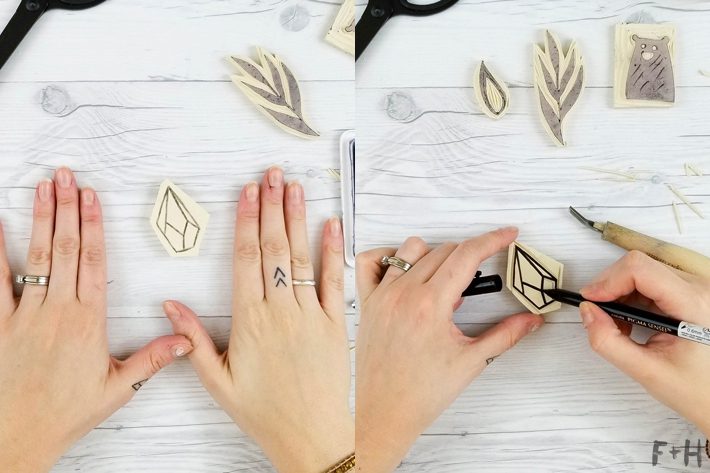
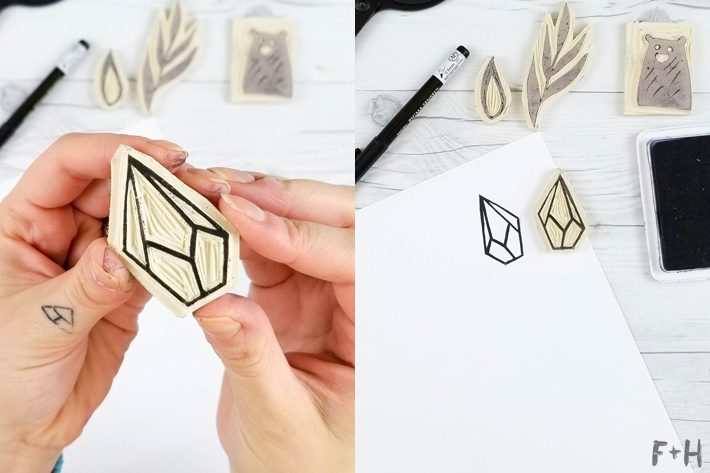
Once you feel like you’ve got a handle on carving the easier shapes, then I challenge you to try some of the trickier designs! Like this gem shape. Carving straight lines can be hard, but so rewarding when you’re left with a beautiful design like this! Again, the key is just to take your time and stop your cuts shorter than you’d expect so you don’t overcut. You can do it!
But wait, what about those white erasers ?!
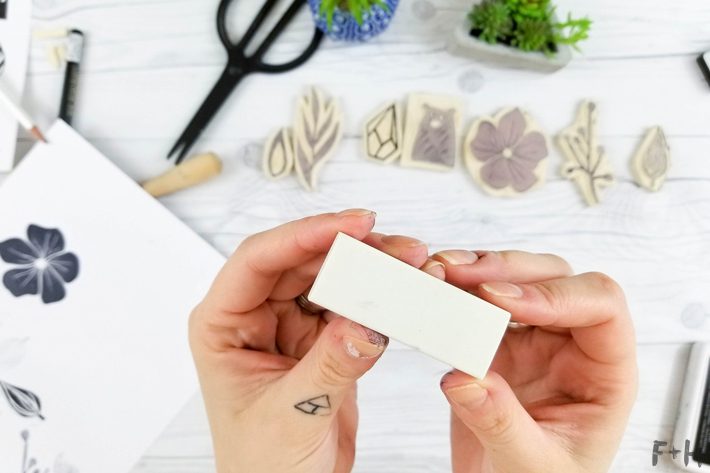
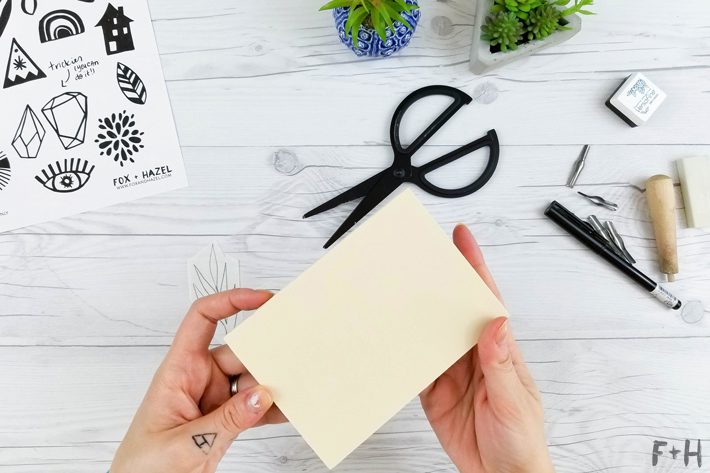
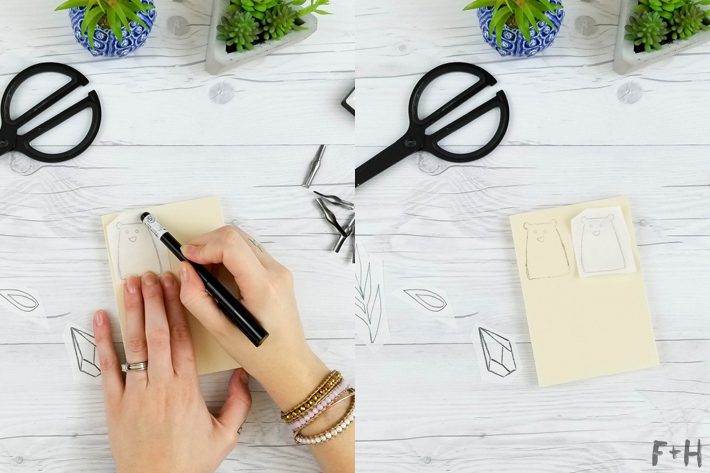
So, white erasers can be a really awesome and cheap way to DIY hand carved rubber stamps. You can find them anywhere, they’re cheap and easy to carve too! Their only limitation is their size. However, I still want to show you how easy it can be to make stamps from them!
Follow all the steps above, just making sure your design will fit on the eraser. See how cute and adorable they turn out?
And soon enough, you’ll start amassing your own DIY hand carved rubber stamp collection!

10 Comments
How To Create an Easy Watercolor Art Journal Page | Page Flutter
February 17, 2022 at 11:51 am
[…] leaves. (If you want to learn more about how to carve your own stamps, I have a whole post about it HERE.) Use the stamps with the black Ranger ink to just stamp a bunch of different leaves and […]
Jenni
April 14, 2021 at 9:20 pm
THANK YOU! I am so excited to give this a try as I was gifted a Speedball starter kit today!!
Kimberly
January 29, 2021 at 3:10 am
Oh my!!! I absolutely LOVED your tutorial… and CANNOT WAIT to try this myself!!!
THHHANNNNNNNNNKKKKKKKKKKK YOUUUUUUUUUUUUUUUUUUUUUUUU
Torrie – Fox + Hazel
February 5, 2021 at 3:09 pm
You’re so very welcome Kimberly! I hope you have great fun carving stamps – it’s addiciting!!
Ruth
April 9, 2018 at 12:28 am
This is a great article and I found the process interesting and helpful. A word of caution tho’ from a klutz. Don’t hold your left hand in the way of your pointing blade. That’s a quick way to get a nasty cut or poke! My poor hands have suffered enough I’ve finally learned this. It may feel awkward, but try to wear a sturdy glove on that hand or keep it under your block.
torrielynn
April 9, 2018 at 6:43 am
Great advice for anyone concerned about getting a hand injury! I haven’t had an issue with it, but definitely a good idea for anyone worried about getting nicked.
stephanie
February 16, 2018 at 12:41 pm
thanks for the template an great inspo!
torrielynn
February 18, 2018 at 11:14 am
You’re very welcome Stephanie!!
Teri
February 15, 2018 at 8:32 am
Yay! I have been wanting to create my own stamps for Bible journaling. I spend way too much time just trying to find one that goes along with my style. Thank you!!!
torrielynn
February 15, 2018 at 4:04 pm
You’re so welcome! I can’t be blamed though when you can’t stop carving stamps haha!