
Create A Handmade Stencil with Silhouette Cameo + DecoFoil
Some links in this post are affiliate links to products I love!
Alright, are you ready to go on an adventure with me today? This tutorial is so fun, but I have about a million photos for you. I love love love the look of gold foil in my art journals. Metallics make everything amazing. And ever since I got my Silhouette Cameo 3 this past Christmas, I’ve been wanting to make my own stencils. Stencils and art journals are meant to be together. Just sayin’! One day I had this brilliant idea to make my own chipboard stencil with my Silhouette and use it with some DecoFoil products to get that gold foil in my art journal. Bonus? I can stencil my own designs, instead of someone else’s.
Yes, yes and yes to all of it. So here we are with this photo heavy tutorial. Keep reading on to see how you can make your own handmade stencil with the Silhouette Cameo, and then how to use THAT to add gold foil to your art journal!
Supplies Used Today:
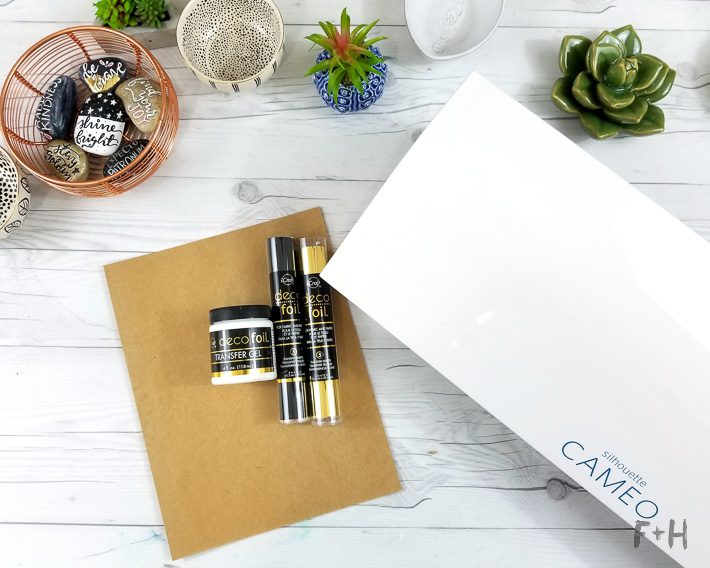
- Silhouette Cameo 3
- chipboard
- DecoFoil Transfer Gel
- DecoFoil Transfer Sheets (I’m using Black and Gold here)
- palette knife
- Heat gun
- Rubber Brayer
- Art journal (I’m using a traveler’s notebook insert for mine!)
- Your own cut file OR you can use the one I created (These files are for Personal Use Only. Do not redistribute.)
How To Create a Handmade Stencil with a Silhouette Cameo
Step One:
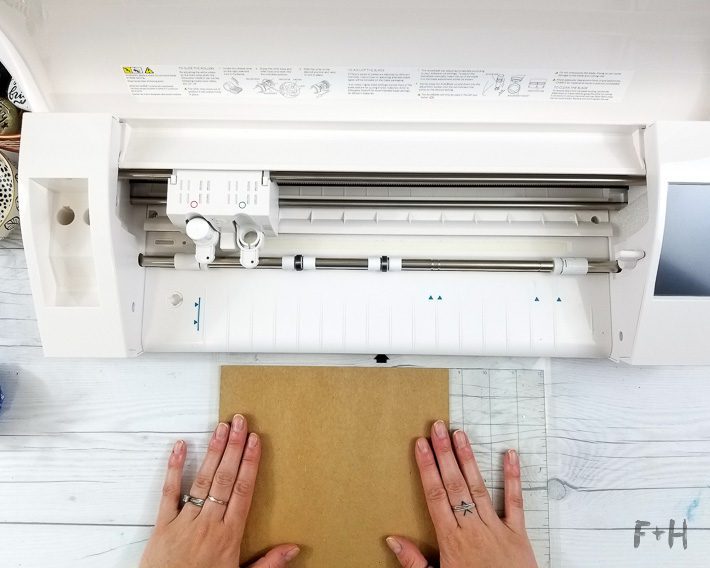
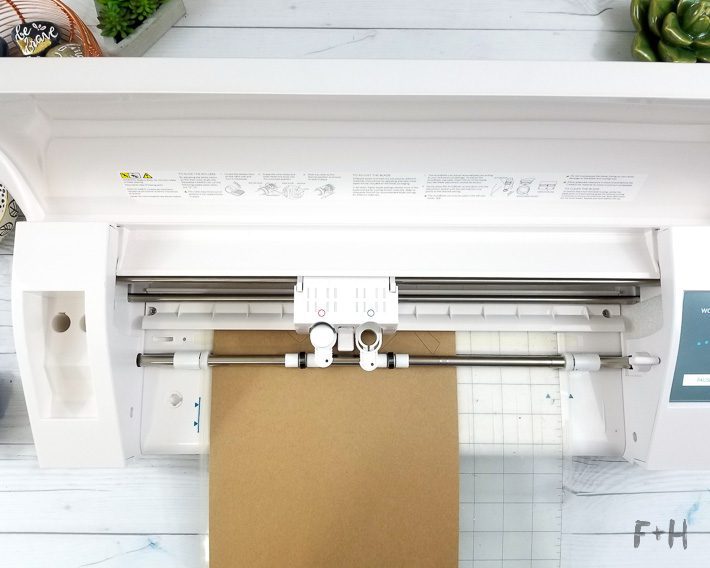
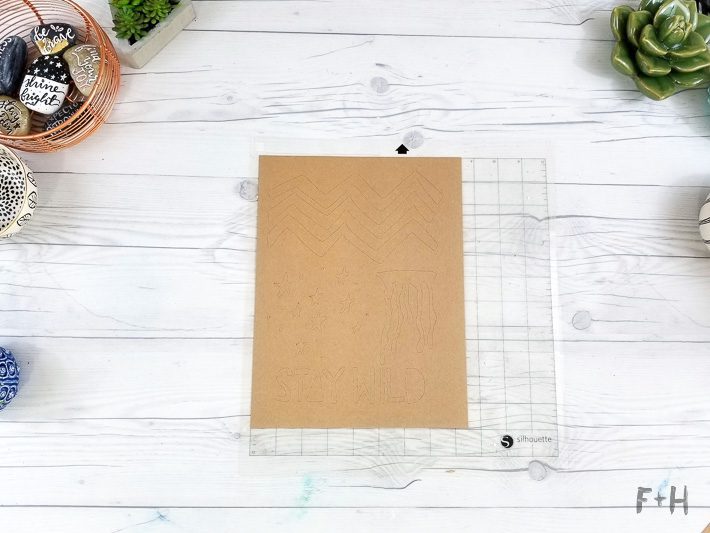
First things first: Load your chipboard into your Silhouette. This is an 8.5″ x 11″ sheet of chipboard. Open up the Silhouette file in Silhouette Studio, and adjust if you need to. (If you are using a different cutting machine, then you do you 😉 – I have no idea how to use a Cricut or Print ‘N Scan.) Set your cut settings to “Chipboard” and let your Silhouette Cameo do it’s thing.
Step Two:
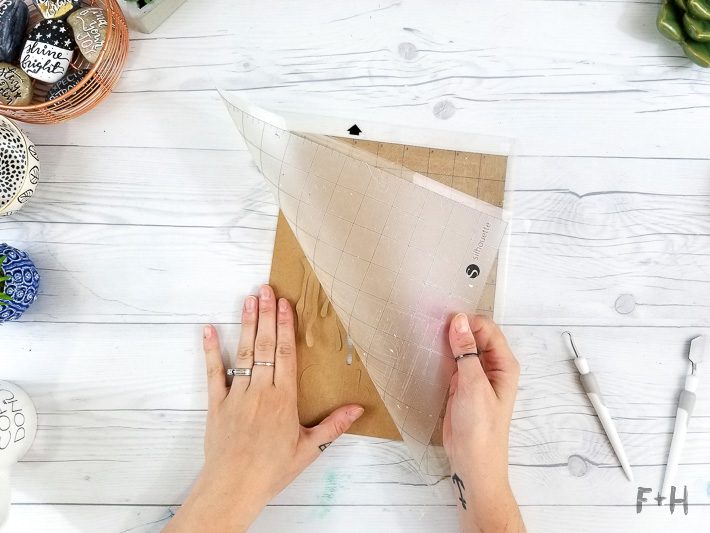

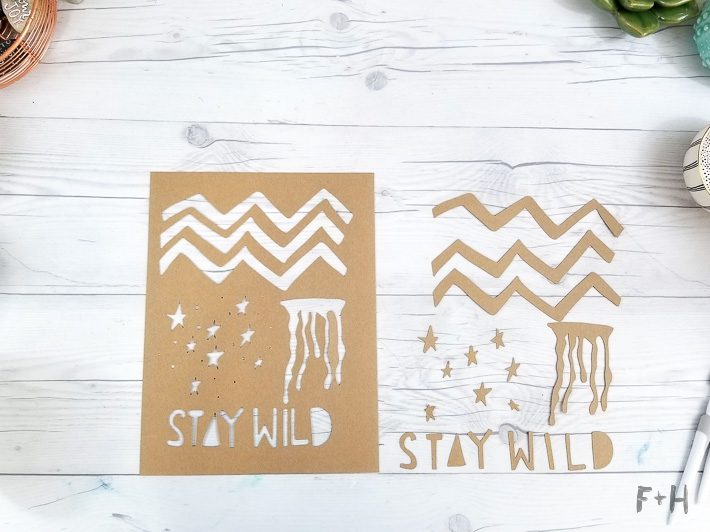
Once your handmade stencil is all cut, now comes the fun (and tedious part) of weeding! I’ve found that the best way to take any designs off my Silhouette mat is to actually flip it upside down and peel the mat off the paper, rather than the opposite. I find myself experiencing less tearing and fiddling. The bonus to this project: once you weed your design, you also get some handmade chipboard embellishments to use! How fun do these look?! Now onto the really fun part!
How To Add Foil To Your Art Journal with a Handmade Stencil
Step Three:
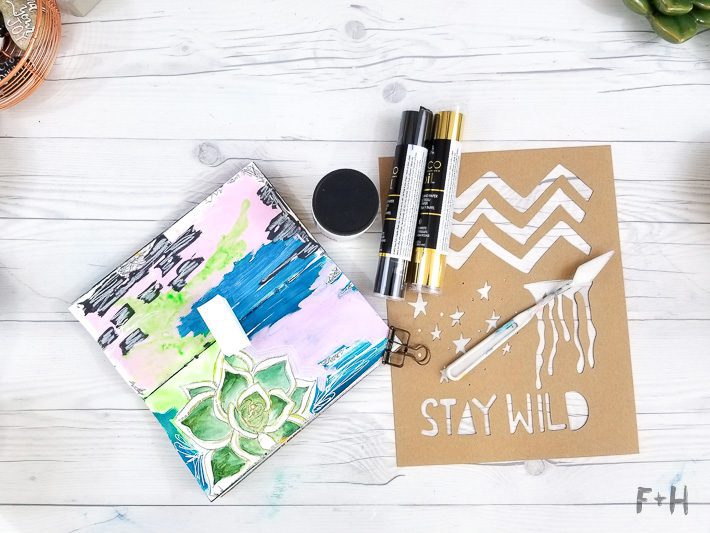
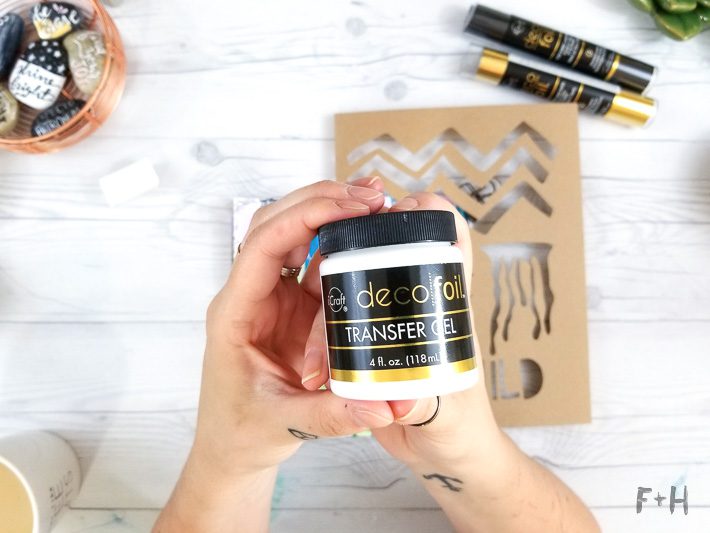
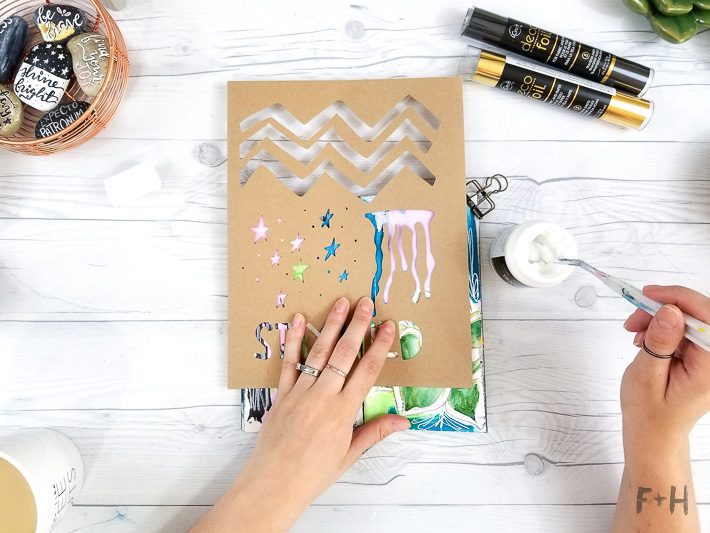
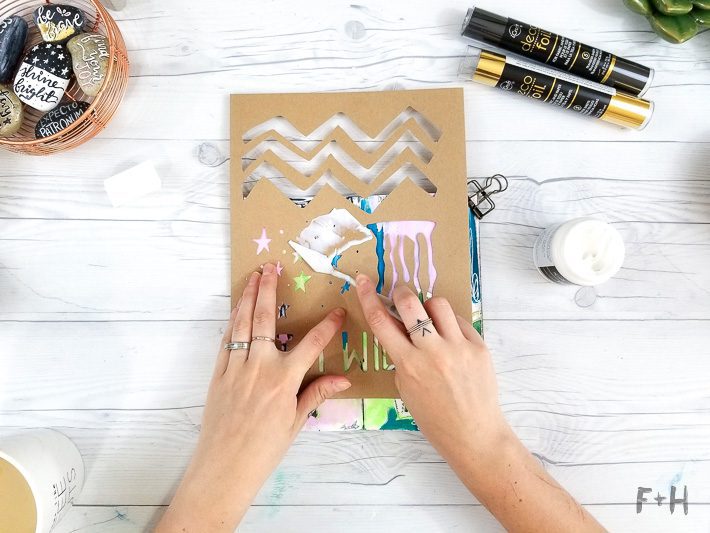
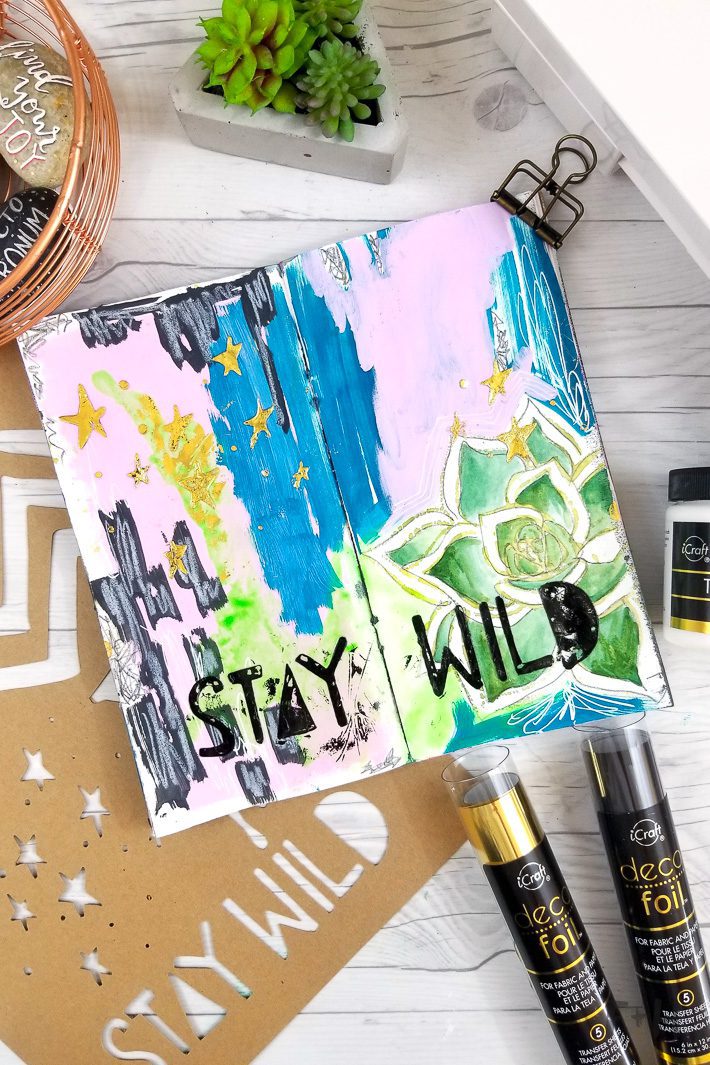
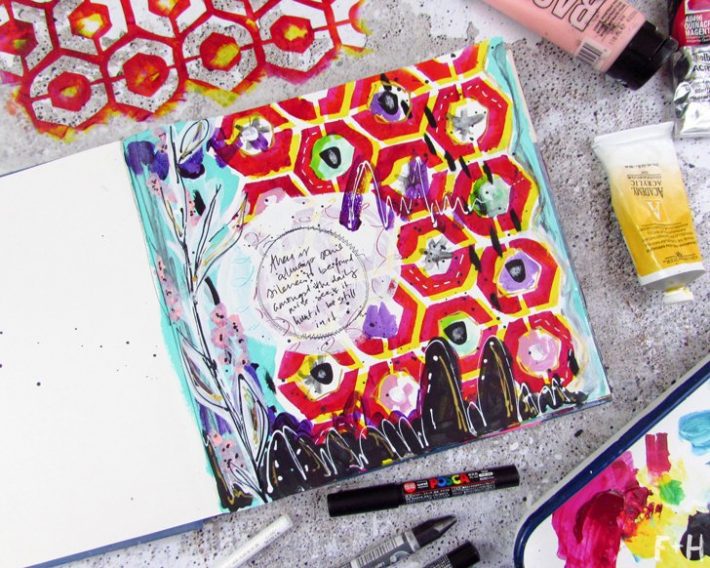
Once you have your handmade stencil all done, it’s on to the foiling part! DecoFoil makes this really fun Transfer Gel that allows you to use stencils with their transfer sheets. It’s thick much like gel medium is. To use the transfer gel, first decide where you want to add your foiled stencil on your art journal. Next, using a palette knife, you’ll smear the DecoFoil transfer gel across the handmade stencil to push it through. Be mindful of the edges so that you don’t have much bleeding. Check out the stars I added!
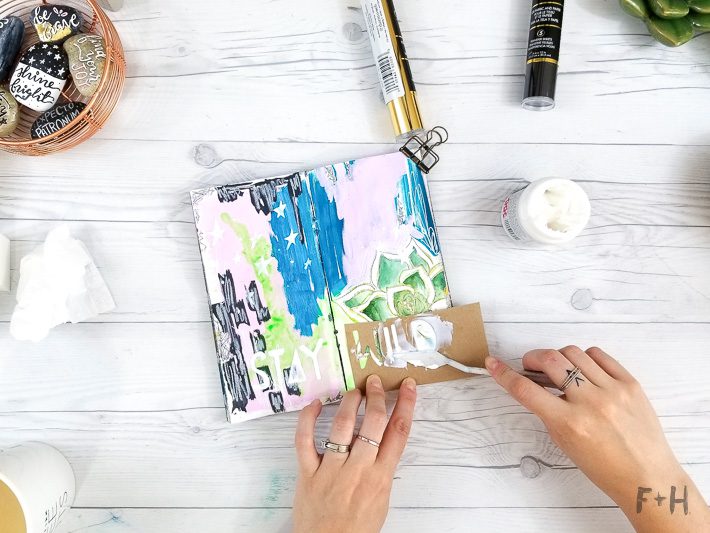

Tip: If you want to stencil in an awkward position, you can totally cut up your handmade stencil. This is the beauty of being able to make your own! After I stenciled the stars on my pages, I realized I wanted to add the words as well, but it would smush my still wet transfer gel. Snip, snip and I could make it fit!
Let your transfer gel dry completely, which takes about an hour. It will dry clear when it’s fully cured!
Step Four:
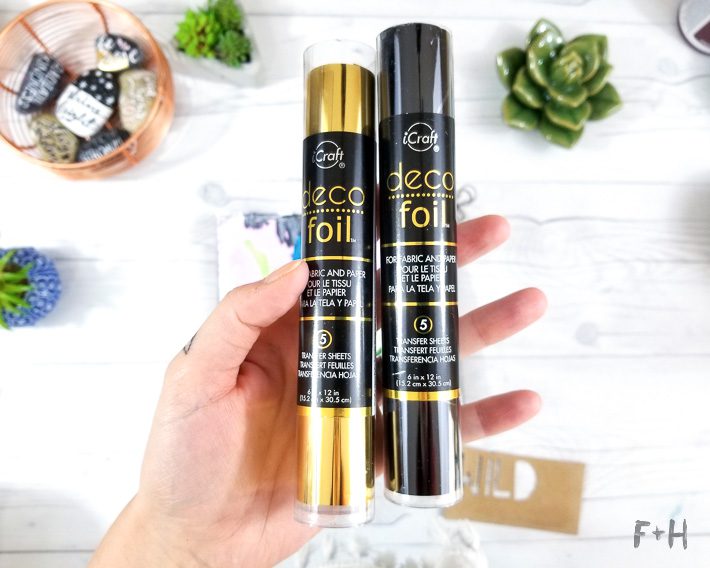
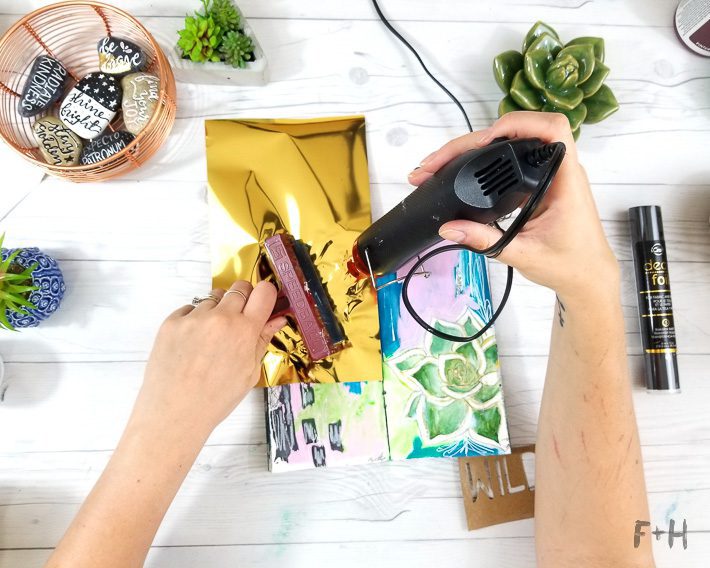

Alright, we are finally ready to add foil! I’m using the DecoFoil Transfer Sheets in Gold and Black here. And this is where things go way different if you’ve ever done foiling before.
Normally, you would put the paper with the foil sheet through a laminator. However, we can’t do that with an art journal. But if you think about WHY a laminator is needed, it’s because it requires two things: heat and pressure, in order to transfer the foil. So, I’ve figured out a janky way to replicate those forces without the laminator: a rubber brayer with a heat gun. It sounds crazy, but it works! I will preface this method by letting you know that it gives a much grungier, messier effect – clean lines are not going to be had here. But if you like this messy look in your art (which I clearly do) then you’re gonna love it!
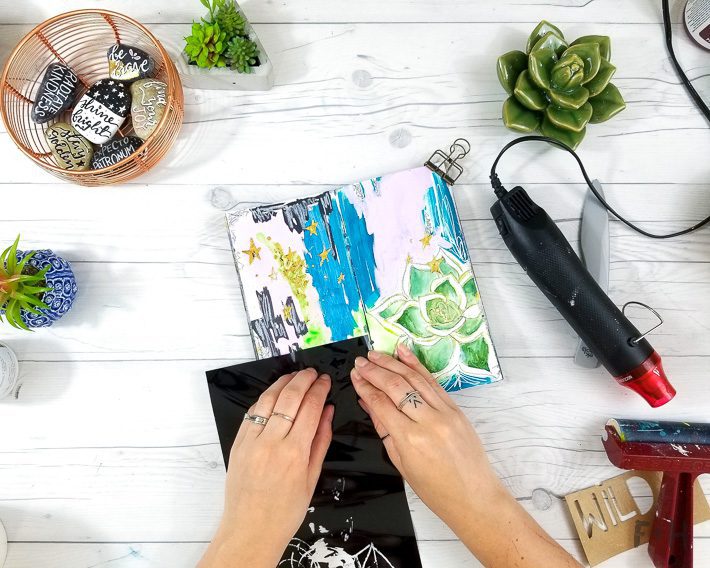
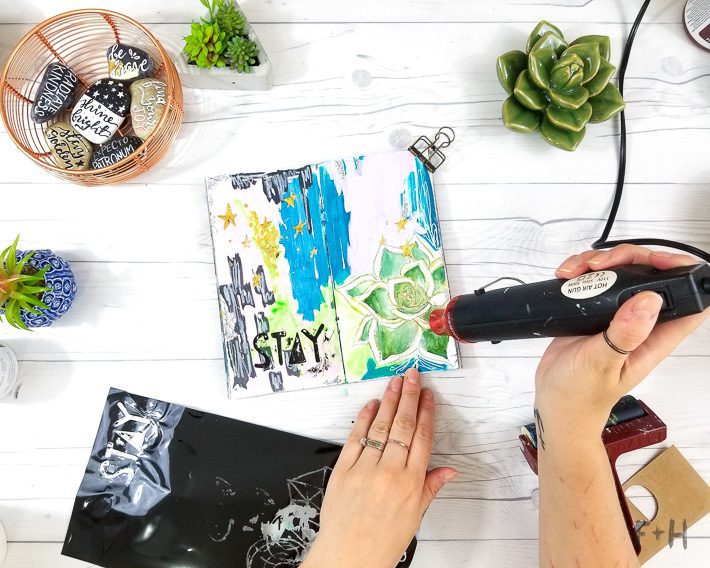
So, what I did is I first used the heat tool to warm up the transfer gel so the foil would stick well do it. Then I placed my transfer sheet on top, and immediately rolled it with my rubber brayer with good pressure. I then sort of did a dance between using the heat gun and rolling it at the same time. You can also use a bone folder to help burnish the transfer sheet onto to the gel as well. This is a bit of a trial and error method to figure out what works best.
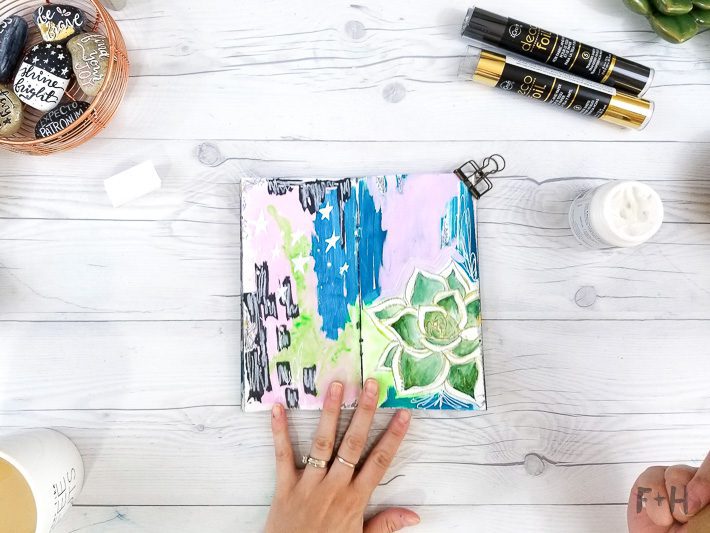
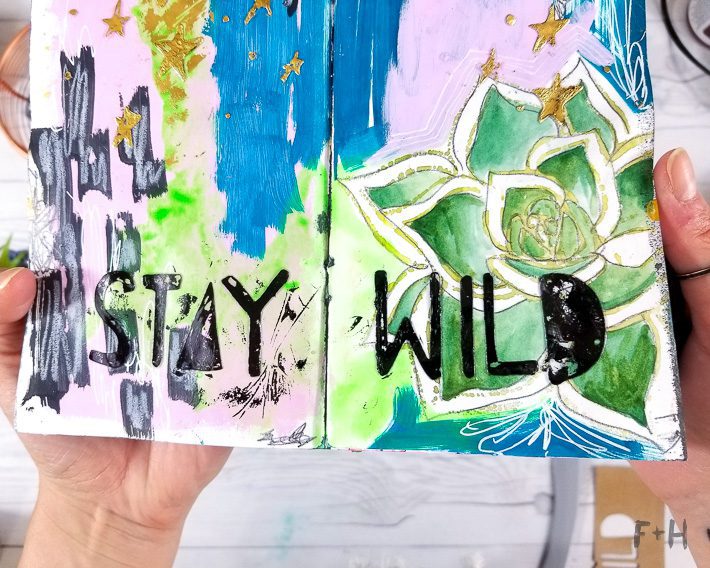
But once you think you’ve got the foil transferred as best you can, then you’re done!
This project is a really fun and different way to use some craft tools that I’m seeing everywhere. I actually bought my Silhouette Cameo with the purpose of being able to create my own stencils for art journaling, and I absolutely LOVE it for it. I plan to share some DIY chipboard embellishments as well – so stay tuned for that!
