
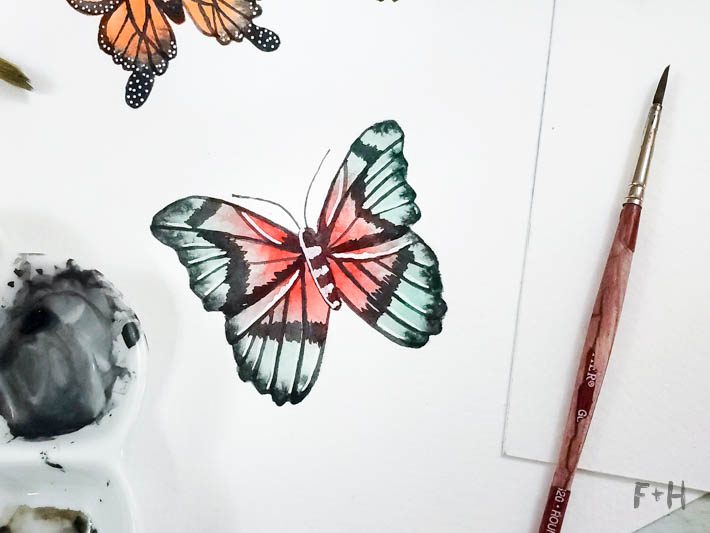
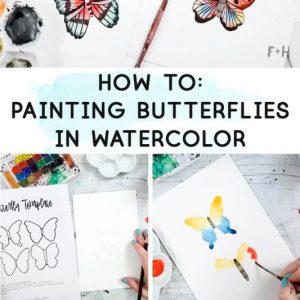
Painting Butterflies in Watercolor Tutorial

I promised more watercolor posts here in my last post. And as much as I wanted to hide under a blanket this past week, I did manage to create this tutorial! In this post I’ll show how you can start painting butterflies in watercolor. Butterflies can seem intimidating to start painting, but I think they can also be fun. While a person could focus on painting real butterflies, that isn’t what this is for. Creating whimsical and gorgeous butterflies is what I’m all about. So let’s jump into it!
Painting Butterflies in Watercolor
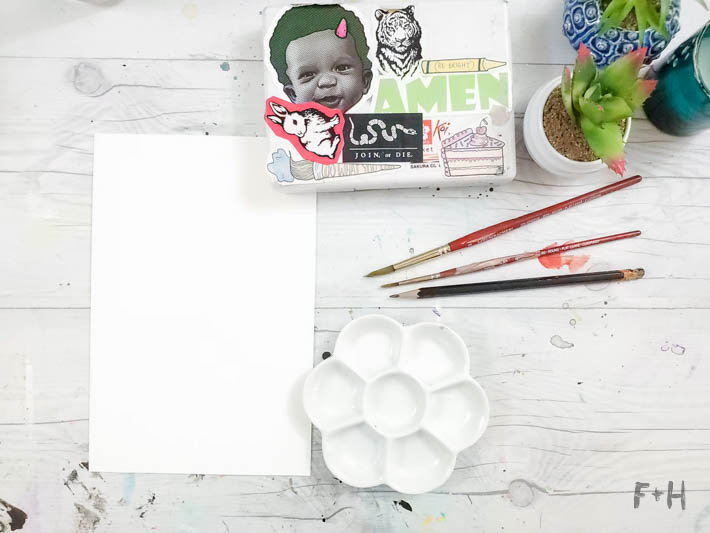
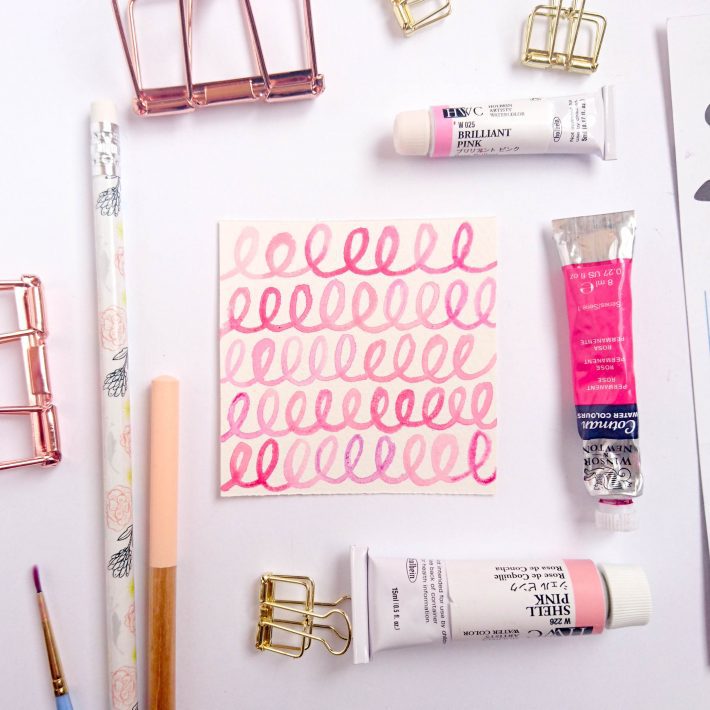
Supplies You’ll Need:
- watercolor set
- watercolor paintbrush in Round 2 (the smaller one. Not sure why I included the larger one.)
- paint palette
- pencil
- cold press watercolor paper, like Arches or Stonehenge
- extra fine tip paint marker or white gel pen
- carbon paper (not pictured)
- this Butterfly Template
- these Butterfly Reference Images
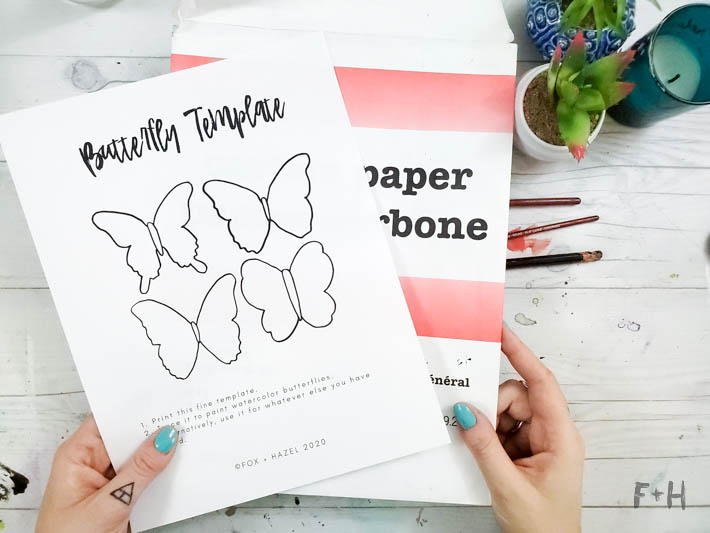
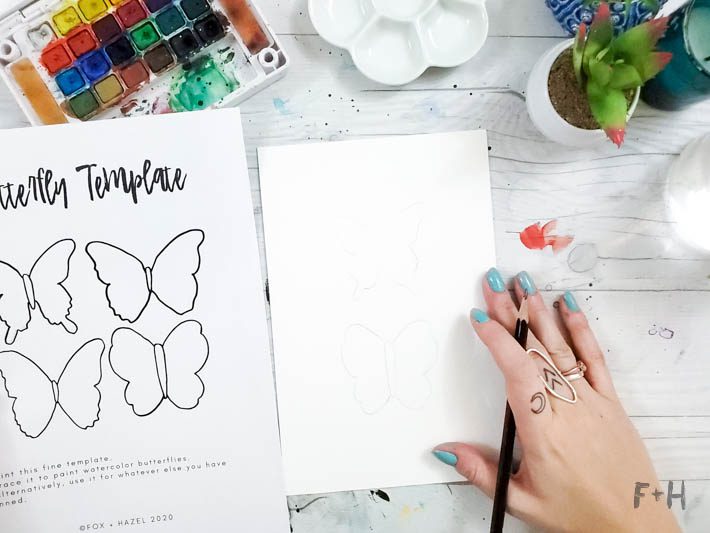
If you’re like me and cannot draw symmetrically (yeah, surprise), then I created this template to help get you started. Using the carbon paper & template, roughly sketch out some butterfly shapes. Even if they aren’t totally symmetrical, literally no one will notice. Promise!
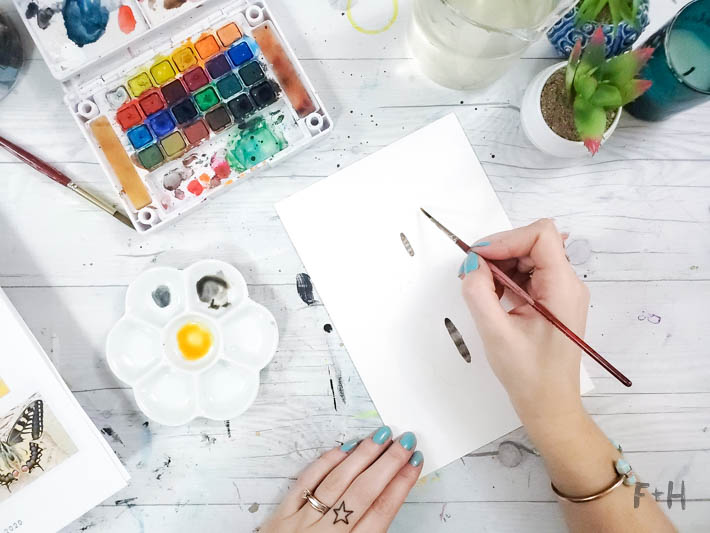
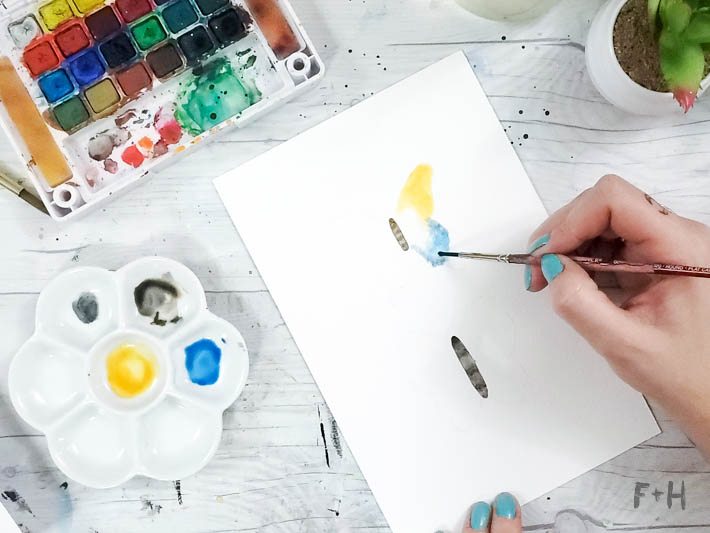
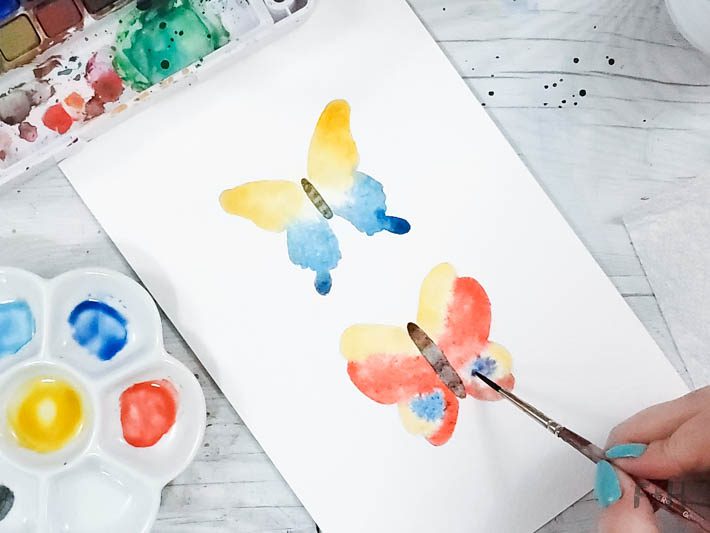
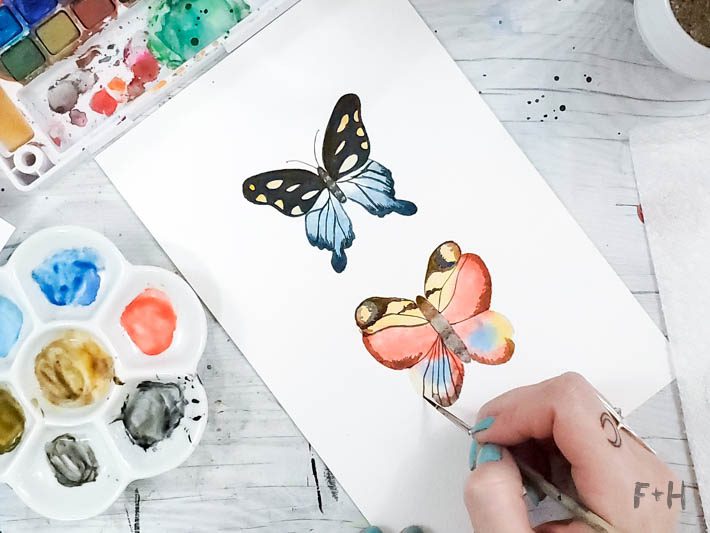
To create the colors on the wings, start by putting down a layer of water first. Painting wet-on-wet will help the colors blend together without creating any harsh lines. While the water is still wet, start adding the colors you’d like for your butterfly. I suggest using whatever colors you like together. Seriously. There are no rules here. Just make sure that if they are going to touch each other, they don’t blend into a muddled brown. Unless that’s what you’re going for. Which in that case, you do you when painting butterflies in watercolor. No judgment here.
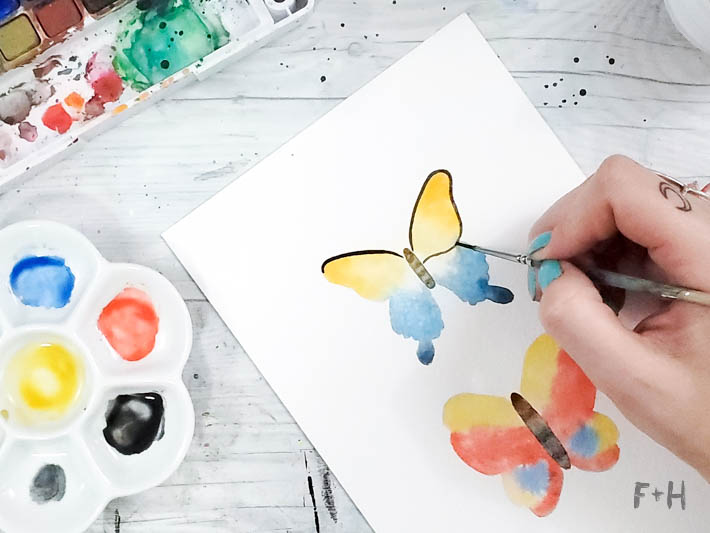
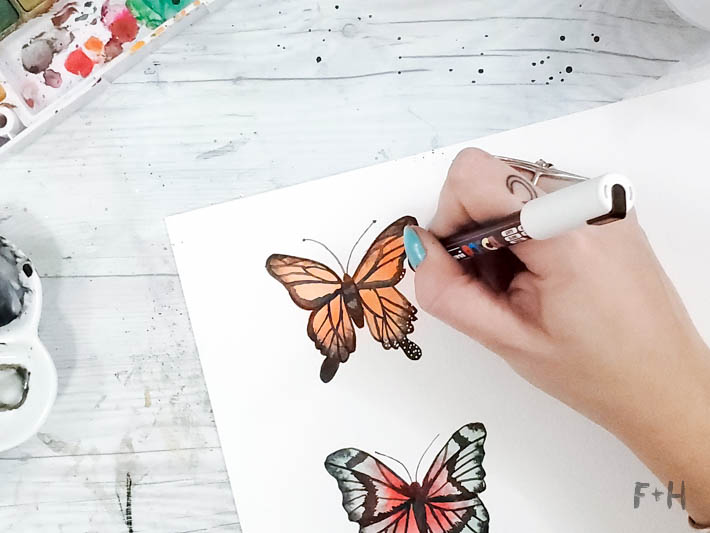
Once the first layer of paint is dry, we can start to add details. This part is probably what intimidated me the most! There’s a lot of details in a butterfly wing. This is where the Butterfly Reference sheets come in super, super handy. I’m a firm believer in using reference images for artwork, especially for stuff like painting butterflies in watercolor. It’s easier to create something from an image than from your memory. I like to start painting at the top of the butterfly and work my way down. You can use black or brown paint for this part, depending on what you like. Try to get the details as symmetrical as possible, but it’s okay if they are not exact – at the end, it won’t be as noticeable.
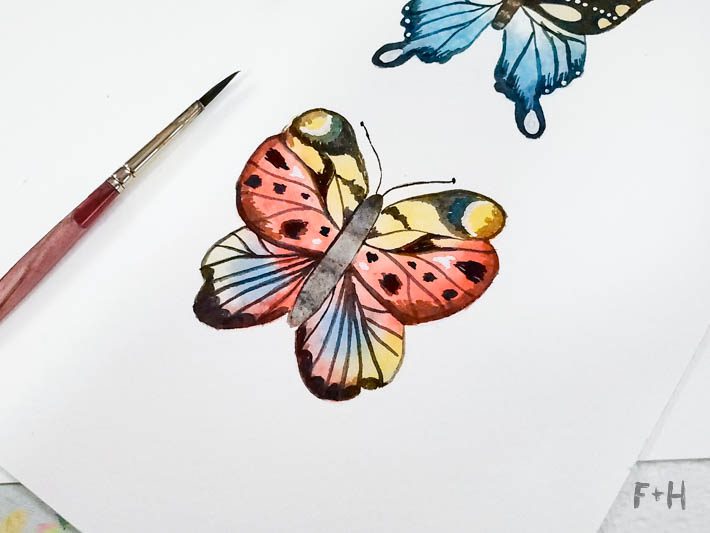
Here is a great spot where you can learn from MY mistake: See those tops wings? I erringly painted them with too harsh of lines, so the texture looks flat and like a cartoon version. This isn’t bad, but not the look I was going for. You can see along the bottom edge of the bottom wings that I used a softer technique to create the black edge. I feathered the paint in with small brush strokes, rather than heavy large brush strokes like I did on the top. In the second butterfly, I did the details with soft short brush strokes to create the texture you find on butterfly wings.
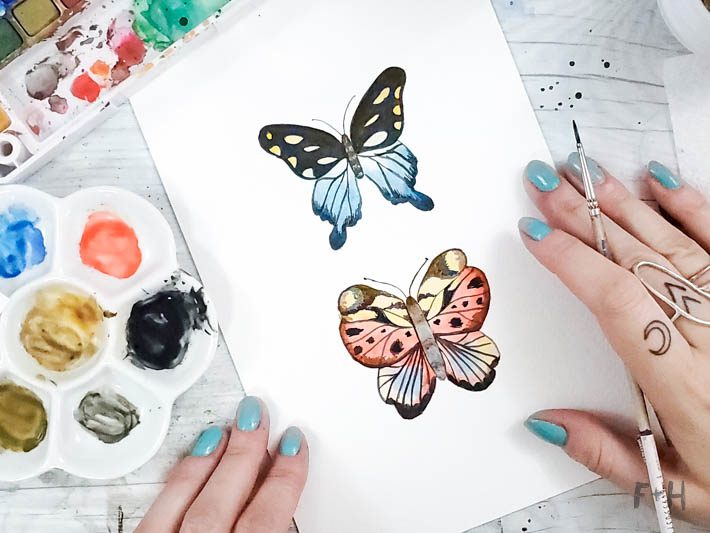
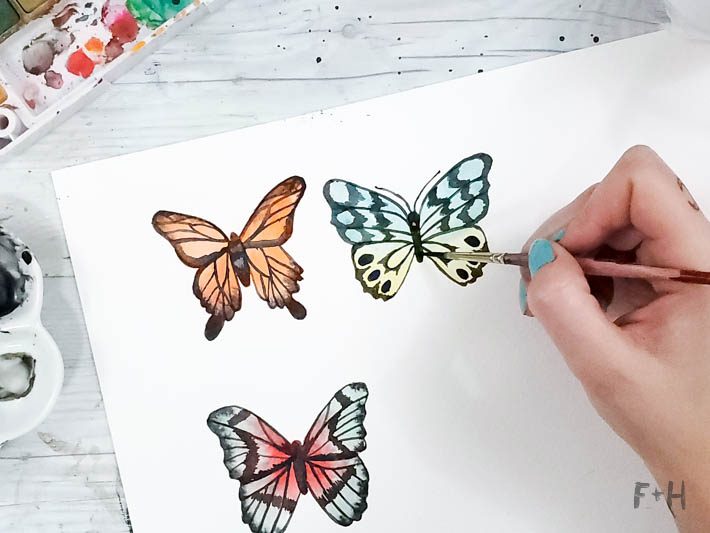
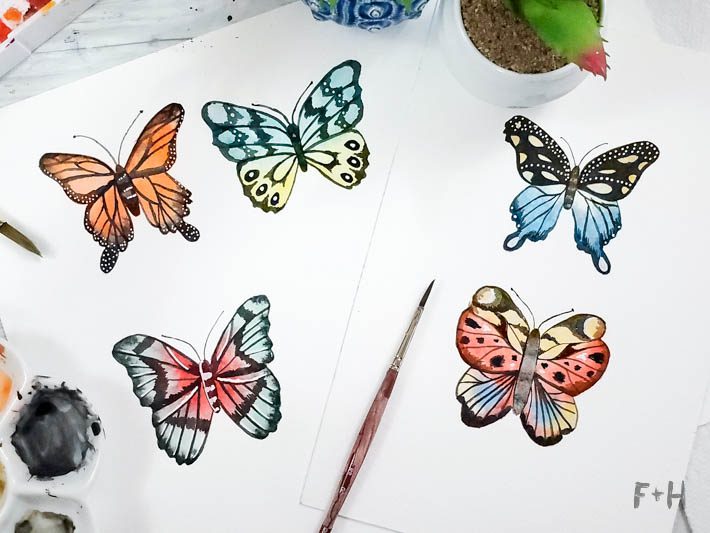
The key to painting butterflies in watercolor and feeling like it’s turned out great is really to include as much detail as possible in the wings. When you see real butterflies, their wings are like mini works of art. So keep looking at the reference images and try to replicate the parts of the wings you like, like the spots, veining, and shading.
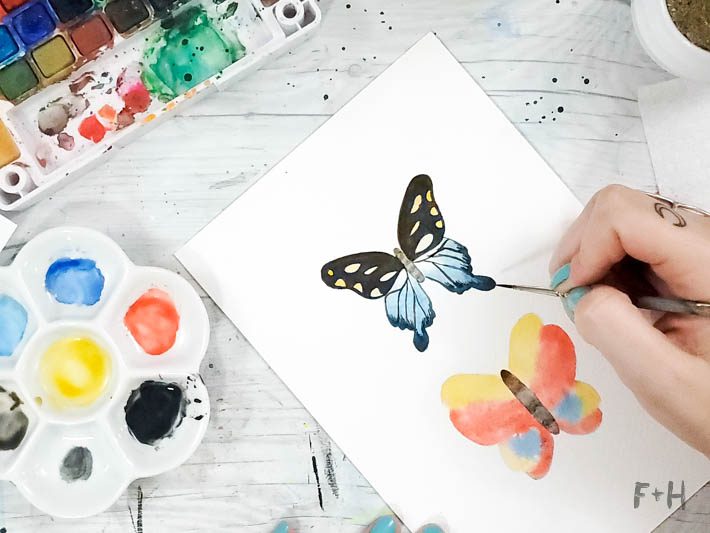
Once you are happy with these details, you can now use the white paint marker or gel pen to add MORE DETAILS. All dem details. I added lots of dots, circles, etc that I saw on several different butterfly species.
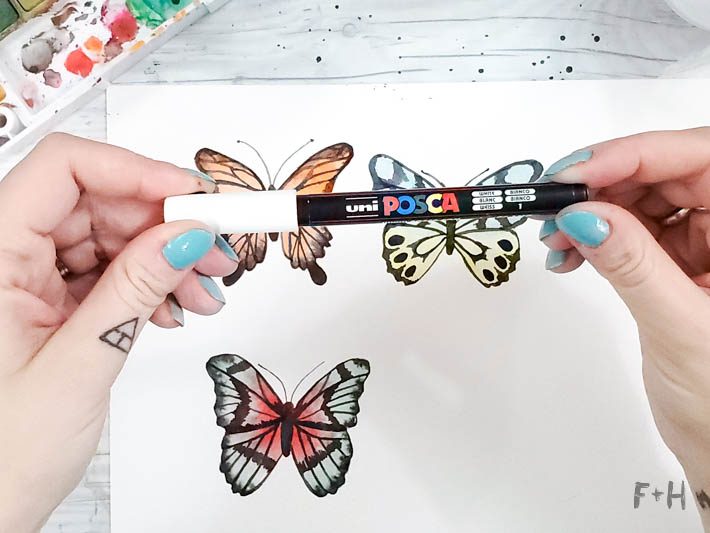
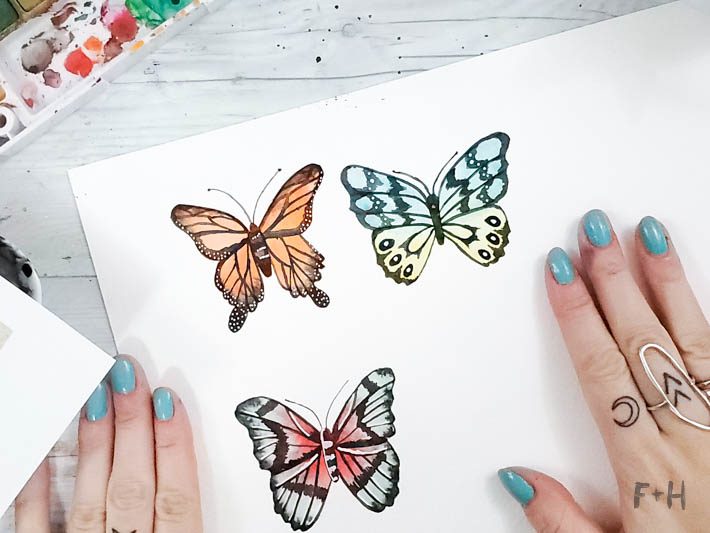
I think the white details really help make these watercolor butterflies pop a bit more. They are more dynamic when there is a bit more contrast! To go one step further (that I just thought of as I was typing up this tutorial): you could also add details with a gold gel pen. How pretty would that be!?
I hope you enjoyed this tutorial on painting butterflies in watercolor! It’s not the most *detailed* tutorial, but I hope it helped take some of the mystery out! The best way to get better at this type of painting is just to practice, practice, practice. So much of what is seen as talent in artwork is actually a lot of hard work, practice and failure before success. So you too can be painting butterflies in watercolor with some determination and practice! I believe in you!
If you have any questions or need some clarification, please drop a comment below and I’ll be happy to answer! You can also tag me on Instagram @foxandhazel so I can see your awesome work!


3 Comments
Nicole
May 31, 2021 at 6:12 am
Hey Torrie! Loved your watercolour flower tutorial! Was wondering what fine liner you use that doesn’t bleed when you paint over it? Thanks heaps for all advice!
Torrie – Fox + Hazel
May 31, 2021 at 10:42 am
Hi Nicole! I find that Micron Pigma fineliners work best as they are pigment-based pens and are archival & waterproof. I would let the pen dry for a bit to make sure it’s thoroughly dried before painting over it. Hope that helps!
Komal pahuja
December 5, 2020 at 12:17 pm
Very….. Knowledgeable tutorial