
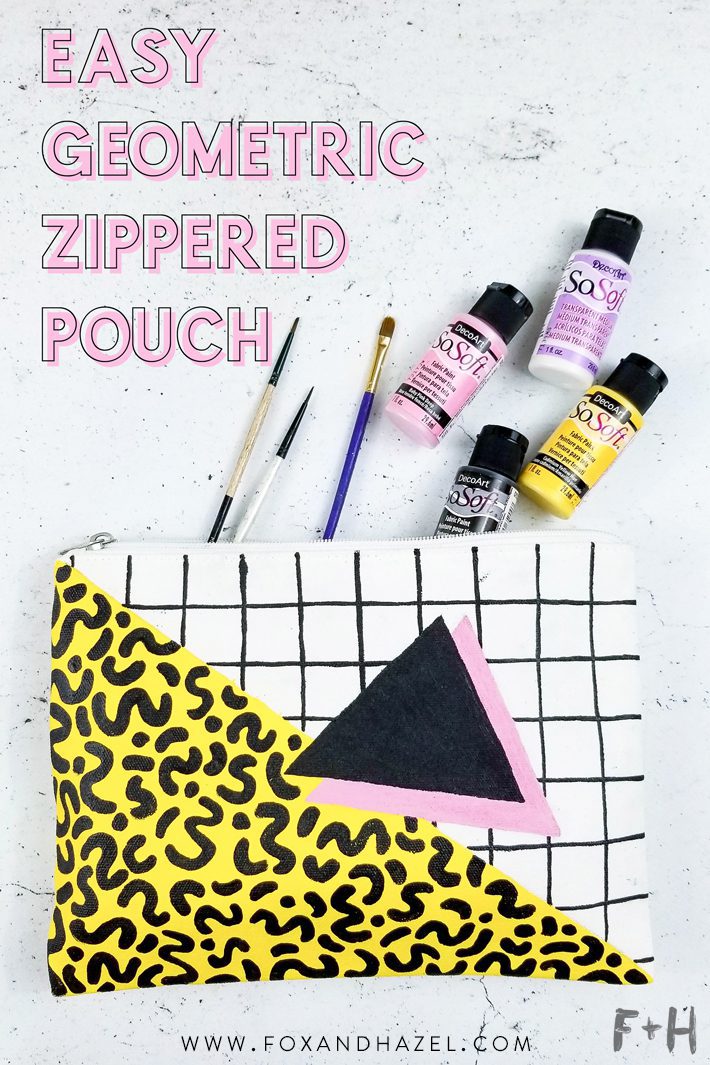
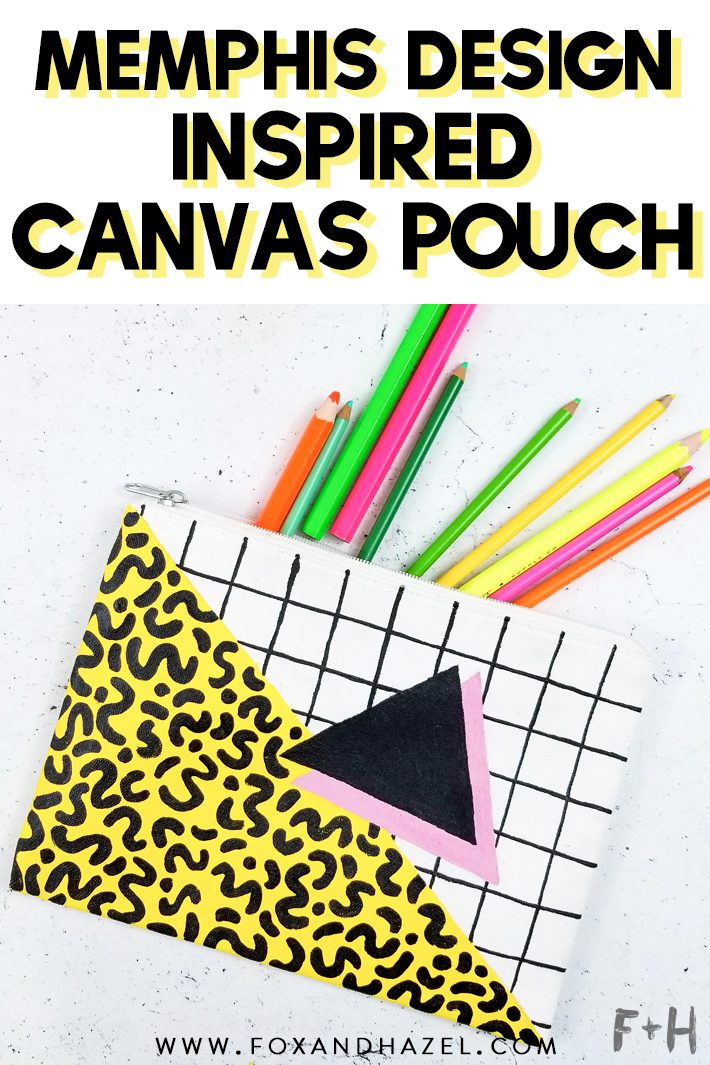
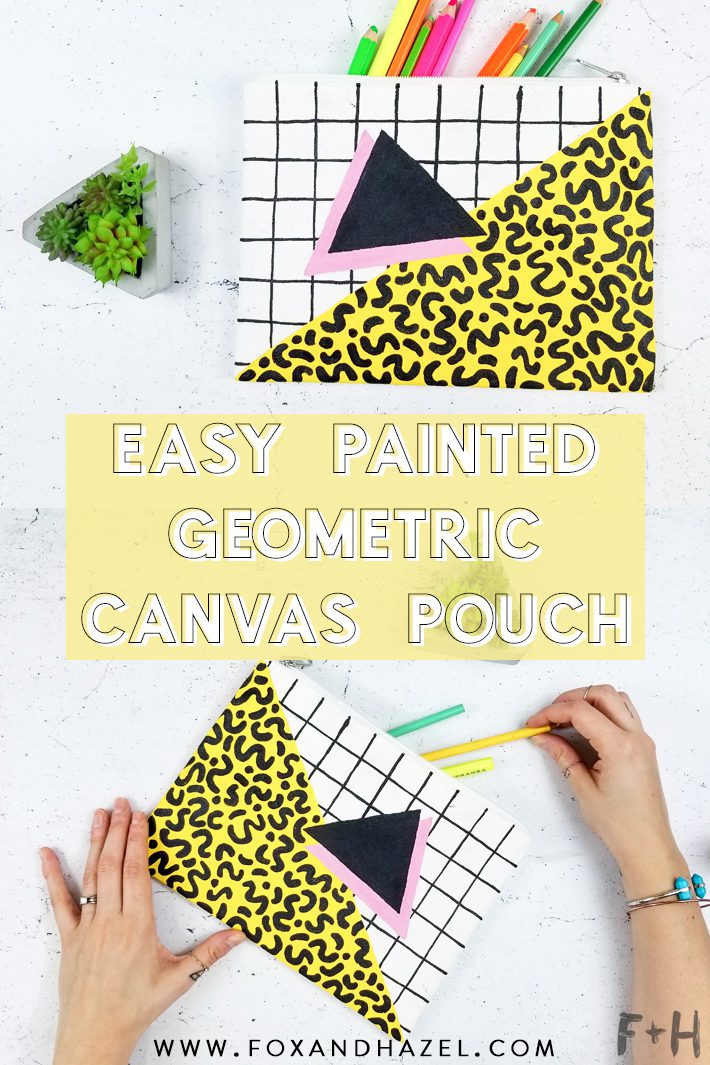
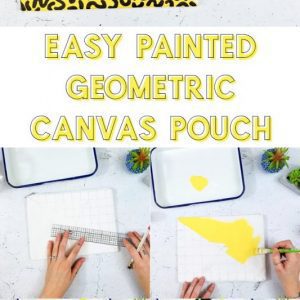
Easy Memphis Design Geometric Zippered Pouch
Some links in this post are affiliate links to products I love!
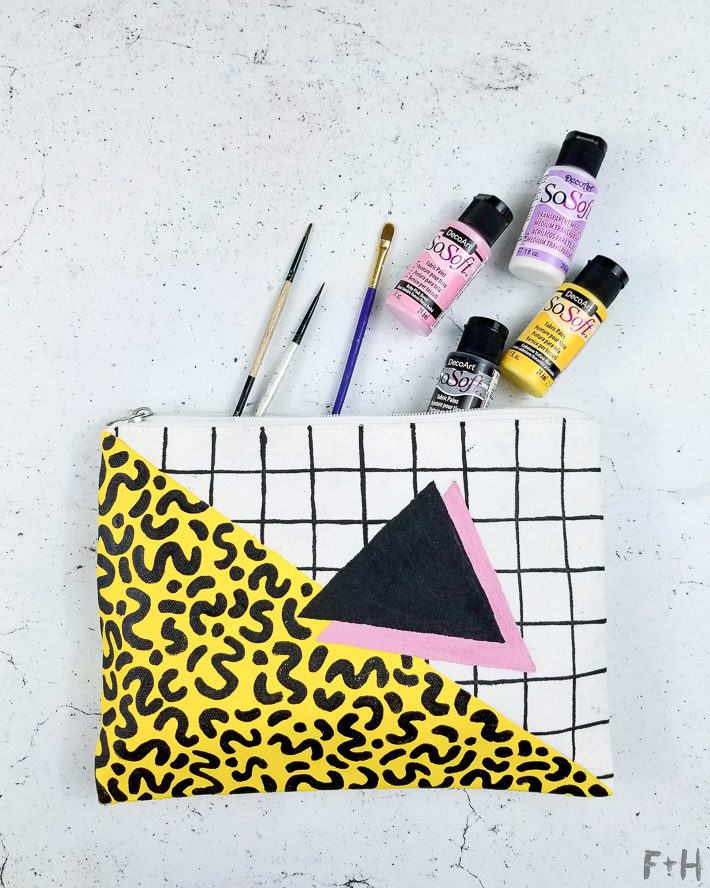
Have you heard of the Memphis design movement? If you haven’t, then you need to fall down the rabbit hole of this glorious 80’s/90’s design. It’s the quintessential bright, geometric and bold style that we all remember and love from the 90’s. Anyways, I’ve been fangirling over it lately. I decided I really wanted to make a zippered pouch DIY as an homage to that kickass design style. This project is super simple and easy to make using my favourite SoSoft fabric paints by DecoArt! Now, let’s jump into it!
Supplies Used For your Geometric Zipper Pouch:
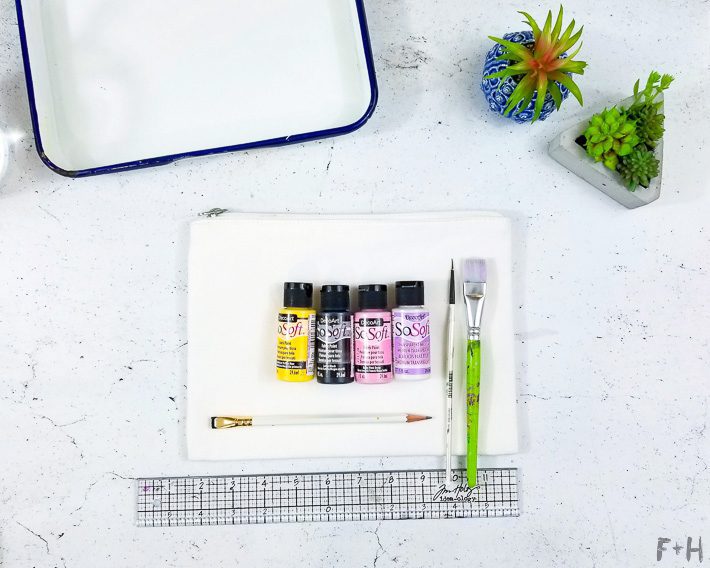
- white canvas zippered pouch
- DecoArt SoSoft Fabric Paint in:
- Cadmium Yellow
- Baby Pink Deep
- Lamp Black
- Transparent Medium (this is a must have – don’t skip it!)
- Acrylic paint brushes that include an angle or flat brush, fine script and a filbert tip.
- ruler
- pencil
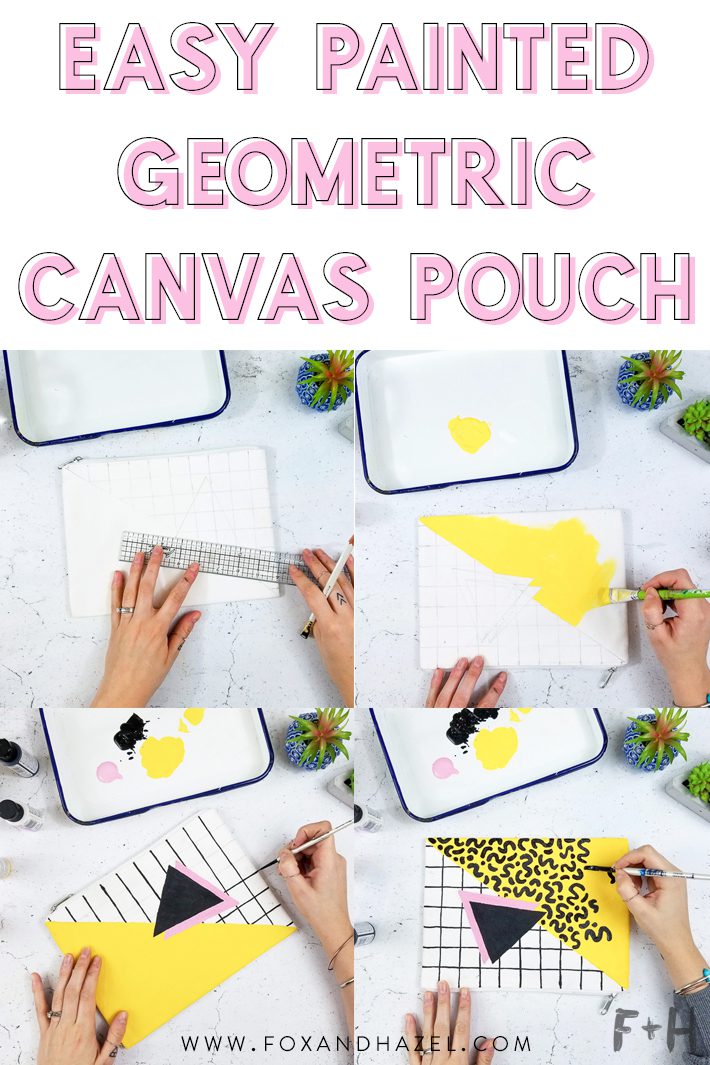
Step One:
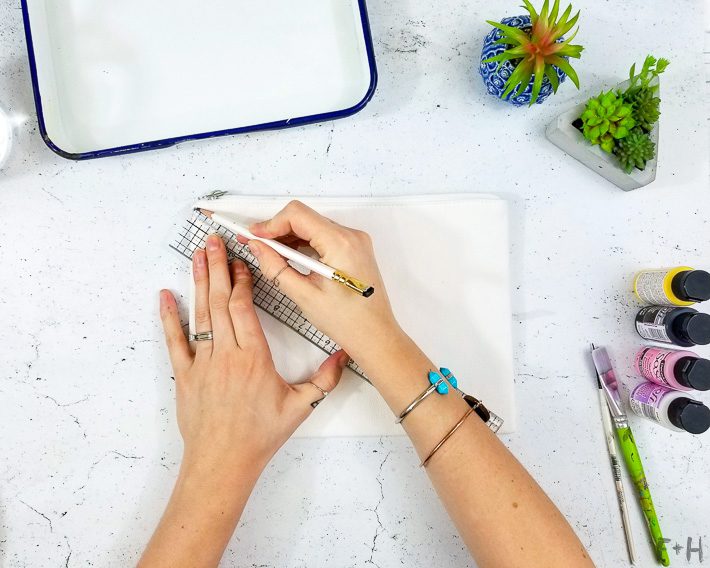
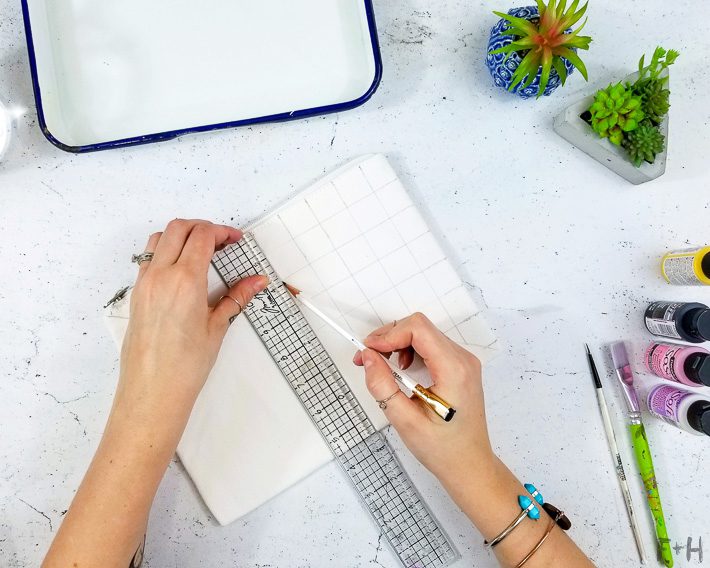
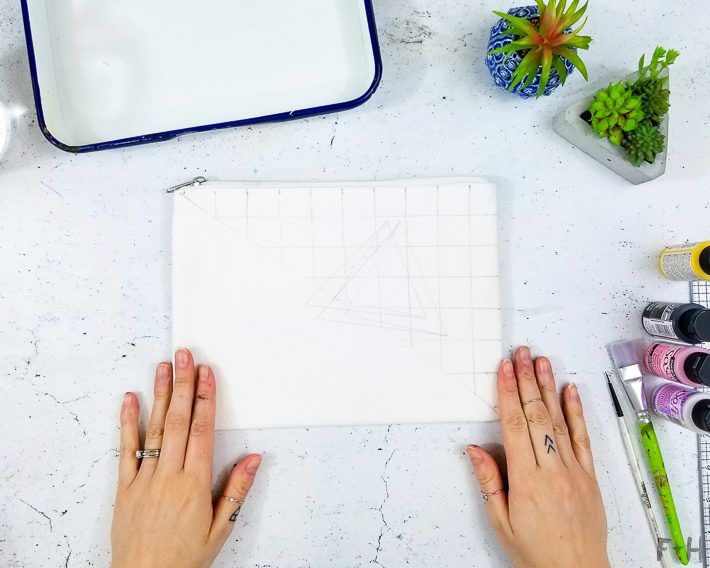
Before we get to painting your fly canvas pouch, we need to draw some guidelines. First, draw a diagonal line from one corner of the canvas pouch to the other. One one side of the divide, you’ll draw your grid. I did 1″ squares on mine, but you can do them as wide or as skinny as you like. Then use the ruler again to draw a large scalene triangle that over laps the two halves of the design. Now draw a second triangle that is offset from the first by about 1/2″. Ya done the drawing! My lines are not perfect because I had to re-draw my triangle – oops!
Step Two:
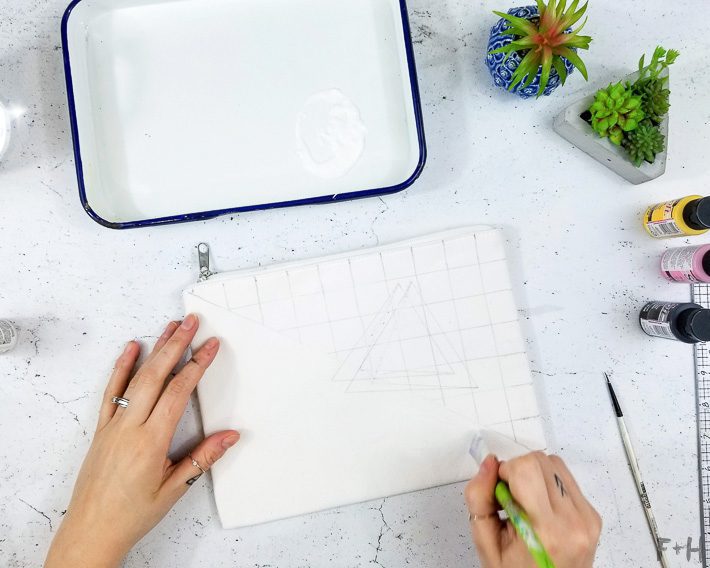
This is a really important step in creating your Memphis Design pouch! Before you put any colored paint down, you need to put a coat of Transparent Medium on first. This helps the fabric paint glide really smoothly over the fabric and results in much cleaner, crisper lines. Which we want for this geometric zipper pouch, since Memphis Design is all about clean sharp designs. Don’t paint the entire pouch at once – just paint each area as you work on it. The medium needs to be wet when you paint over it to get those clean lines. So first, I painted the area I’m going to paint yellow.
Step Three:
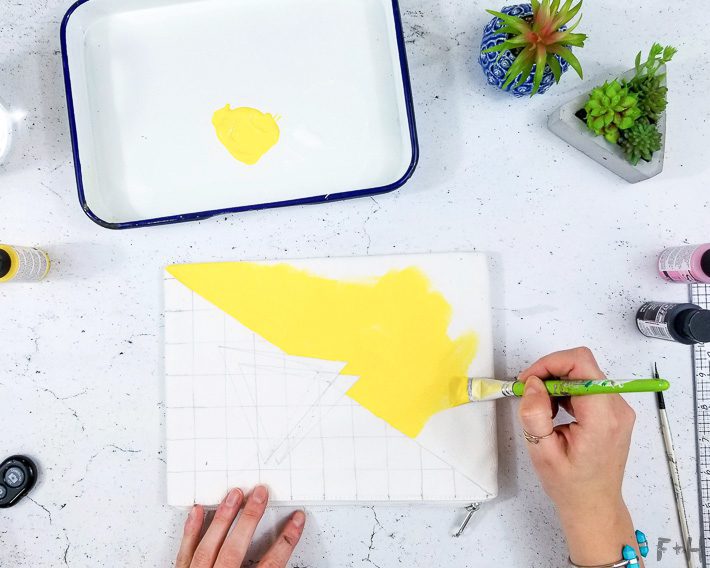
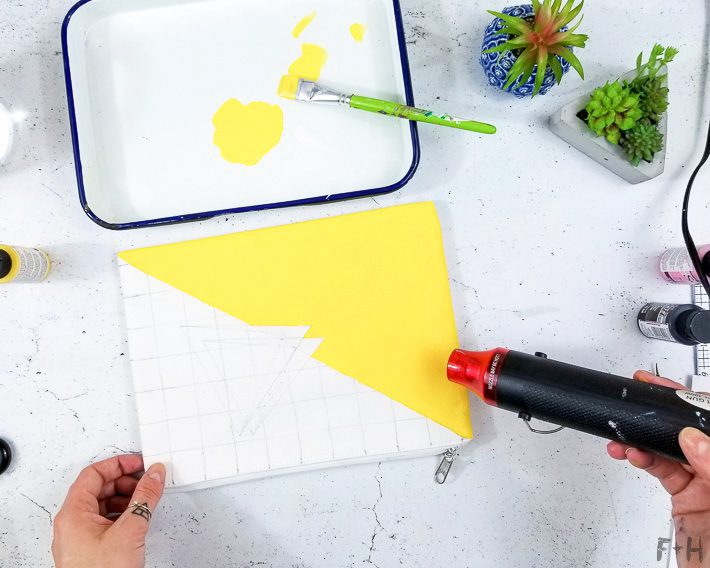 I choose Cadmium Yellow for one half of my design. While the medium is still wet, you will paint one on coat of fabric paint. The SoSoft Fabric Paint from DecoArt has really good coverage and I only needed one coat on everything. Which made this project go a lot quicker! I also chose to dry my paint with my heat tool so I could move on without risking smudging the paint. This won’t cure it completely, but it seals the paint enough that I could rest my hand on it without worrying about paint transfer. Paint this on, and let it dry whichever method you choose to do so.
Step Four:
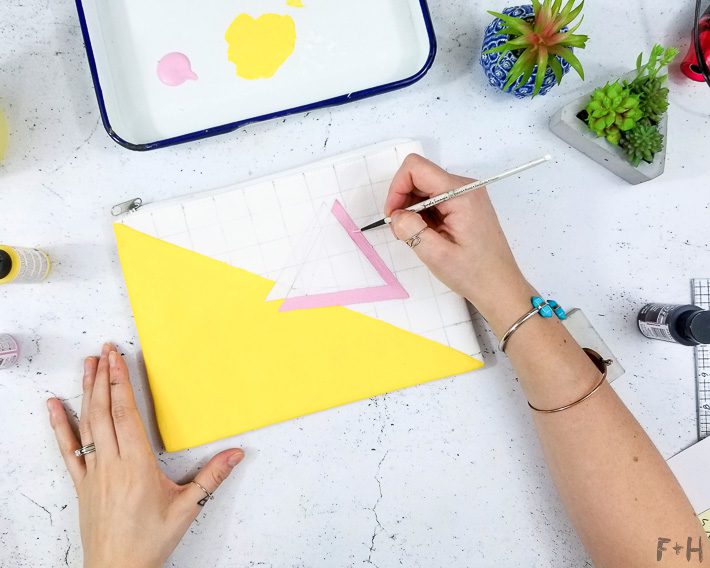
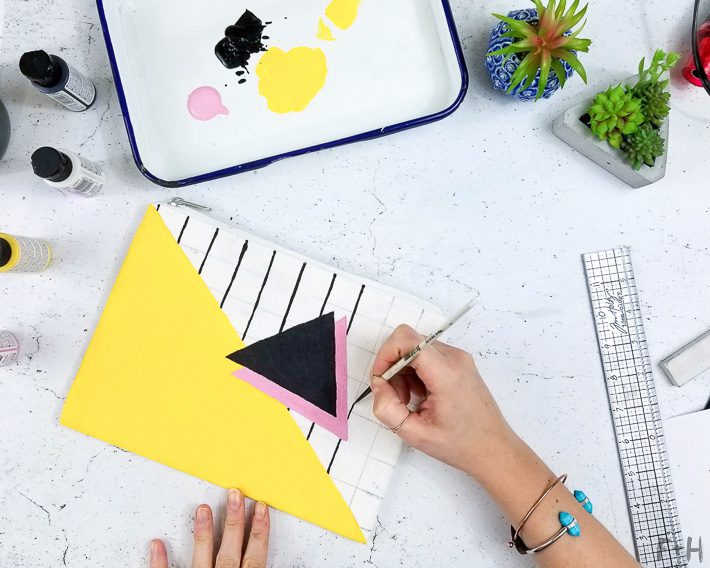
Next, you can move on to painting the triangles and grid on the rest of the canvas pouch. First, paint another coat of the transparent medium to ensure the paint goes on smoothly. Then, paint the pink background triangle first, but only paint the area that will show, not the entire triangle. Then once that’s fairly dry, you can paint the black triangle on. Note: DO NOT paint the grid over the entire area first, and then paint your triangles on. the pink will not be opaque enough to cover the black and you’ll see the grid marks through it. So, triangles first, then grid.
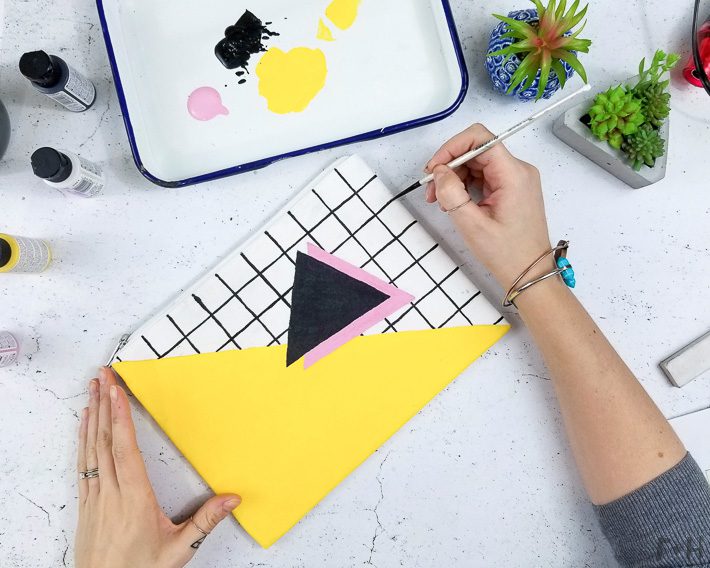
Using a fine script brush and black fabric paint, you can then paint on your grid lines. Because you already drew these on in pencil before we started painting, all you need is some patience and a steady hand! I recommend using a script or liner brush to get the lines as even as possible. Just go slow, and take your time! I have shaky hands and zero patience, so I feel you. You can do this – promise!
Step Five:
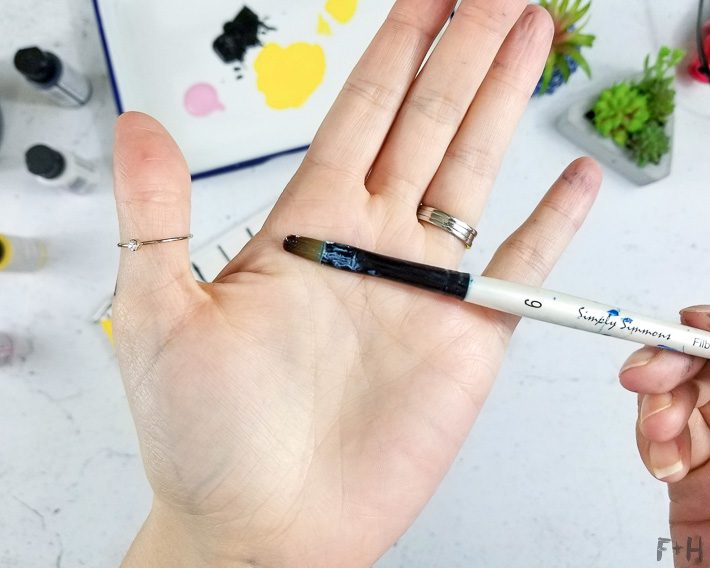
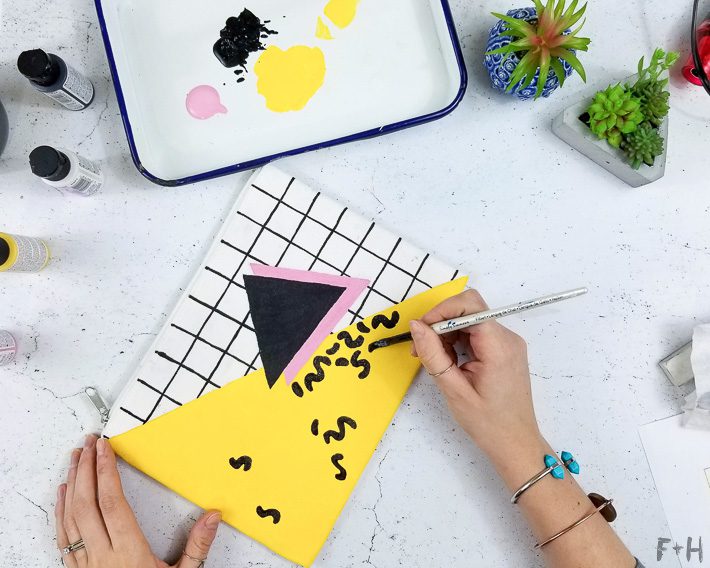
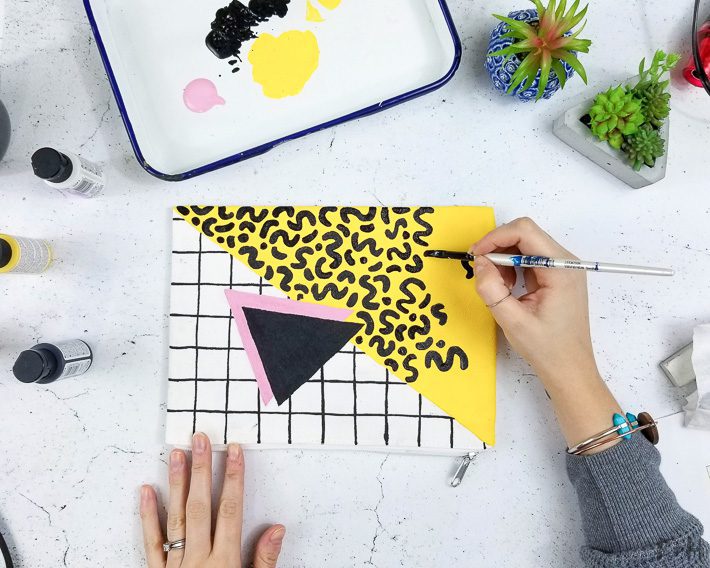
The last step to really bring this zippered pouch diy into the 80’s and rock that Memphis Design is to add some classic squiggles. Using a filbert brush is really key here since it will give the squiggles a rounded end. I’ve shown what it looks like close up, and a filbert is a paintbrush that has rounded flat shaped bristles. To make the squiggles (let me say squiggles one more time for good measure), you’ll dip the brush in black fabric paint and then just make some marks across the yellow part of the pouch. I did 5 different shapes on mine – an S shape, a weird backwards 3 shape, little arches or macaronis, and then just some dots and lil’ swipes. Try to make sure you do a variety of marks so that it looks more interesting and varied.
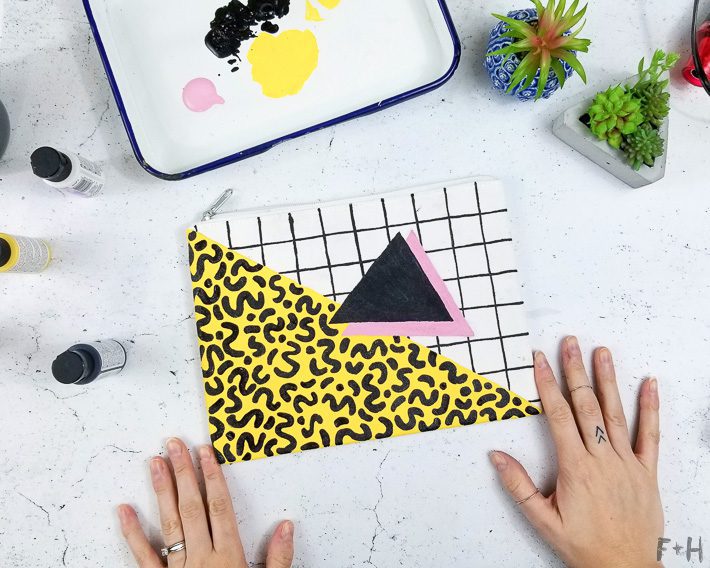
And ta da – ya did it! Your awesome geometric zipper pouch is complete in all it’s 80’s glory. If you want, follow your fabric paint instructions to heat set the paint. The DecoArt SoSoft recommends waiting 71 hours, washing it in cold water, then tossing it in the dryer for 30 minutes. I did not wash or dry mine, only because I’m not super worried about the paint wearing off. Risk-taking with projects is also my jam, so. I hope you loved this geometric zippered pouch DIY! This canvas pouch would be perfect as a pencil case, a makeup bag, for storing paints & brushes, etc. So many choices to make! I personally use zippered pouches like these for taking my art supplies on the go. How are you gonna rock your geometric zippered pouch!?

2 Comments
Easy Watercolor Cityscape Step-by-Step Tutorial – My Hub List
September 8, 2021 at 7:30 pm
[…] Easy Watercolor Mother’s Day Card // 3 Free Palm Tree Leaf Prints // Memphis Design Pencil Case […]
Easy Hand Painted Pencil Pouch
May 13, 2021 at 2:41 pm
[…] Memphis Design Inspired Pouch by Fox + Hazel […]