Easy Mail Art Envelope Tutorial with Watercolors
Some links in this post are affiliate links to products I love!
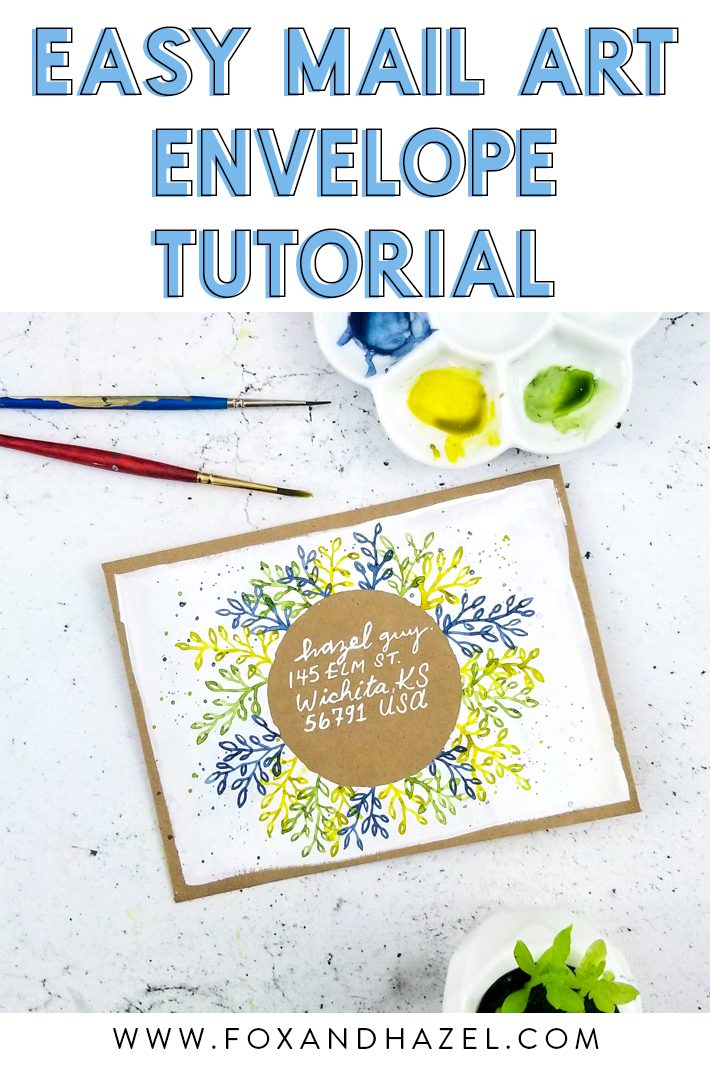
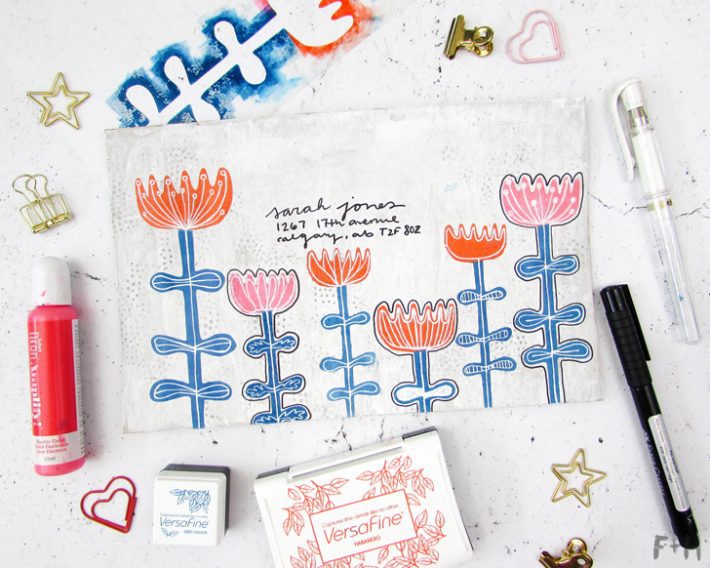
One of my favourite ways to cheer up or send some love to a family or friend is to write a letter! It’s so fun getting a handwritten lettering the mailbox especially when it’s sent in a fun mail art envelope! Getting a cheerful letter in a pretty mail art envelope would certainly bring a smile to my face. This mail art envelope is really easy to make and I’ll show you how to make it! I’m using masking fluid (or liquid frisket to some) to mask off the circle. Masking fluid is usually used with just watercolors but it can be used with acrylics in some instances too. So let’s jump into this mail art tutorial!
Supplies for Mail Art Envelope:
- 4″ x 6″ kraft envelope
- masking fluid or liquid frisket
- white gesso
- QoR Watercolors in: – Green Gold, Sap Green and Indigo.
- Uni-ball Signo Broad Gel Pen in White
Step One:
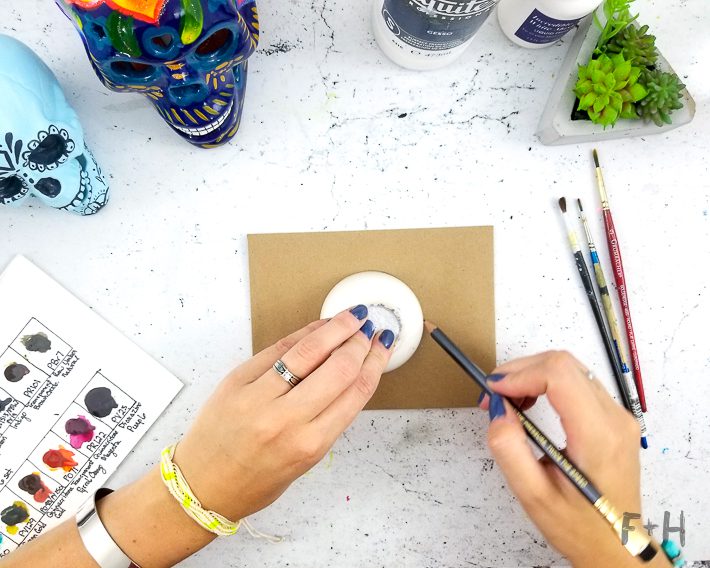
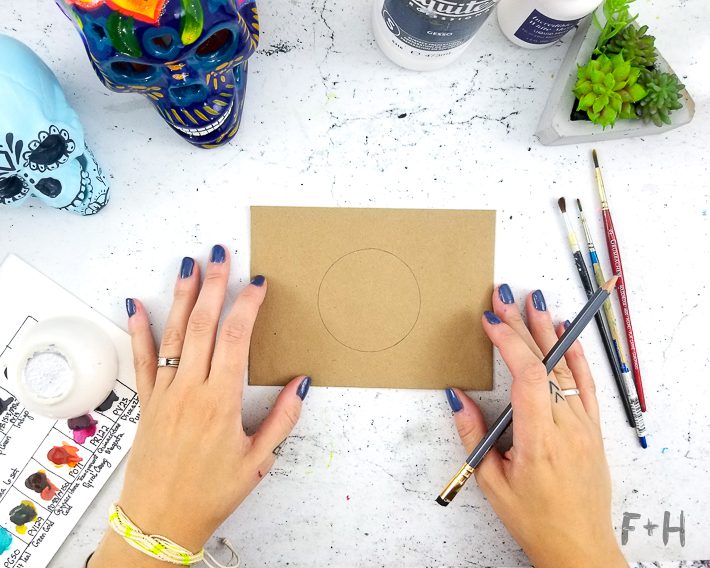

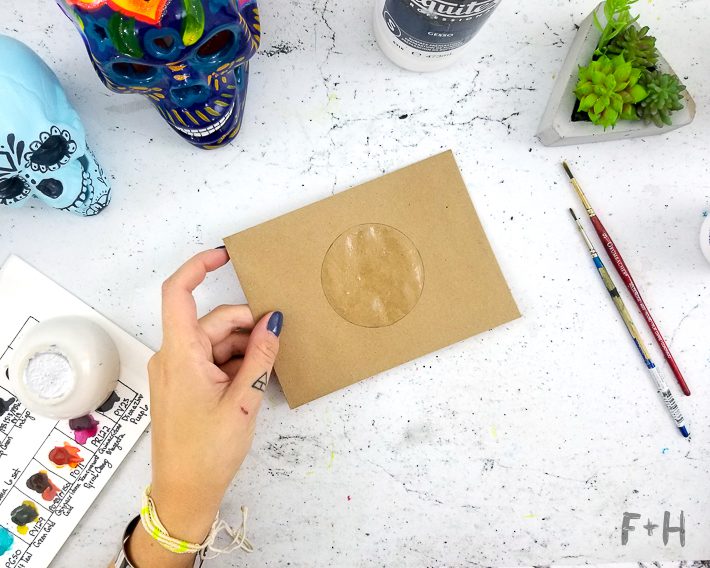
To start this mail art tutorial you will trace a circle in the middle of the envelope. I used this small dish to trace around because I cannot draw a perfect circle (who can? Show me your ways.) Then I painted over the circle with the liquid frisket/masking fluid. Make sure there are no bubbles or dry spots! Let the masking fluid dry completely before moving on. If you don’t have masking fluid, you can still create this just by painting around the edge of the circle.
Step Two:

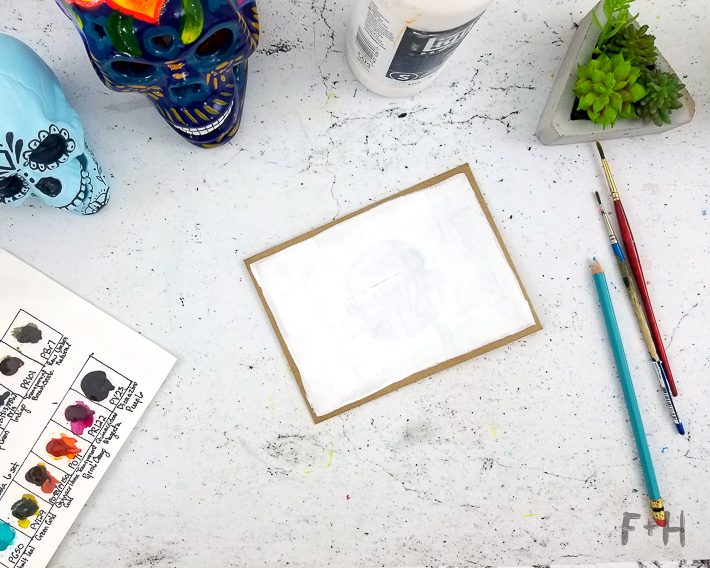
Once the masking fluid is dry I painted a coat of gesso on the front. I chose to leave a small border around the edge and left it imperfect! Freedom in imperfection! Let it dry before moving on to the watercolor.
Step Three:
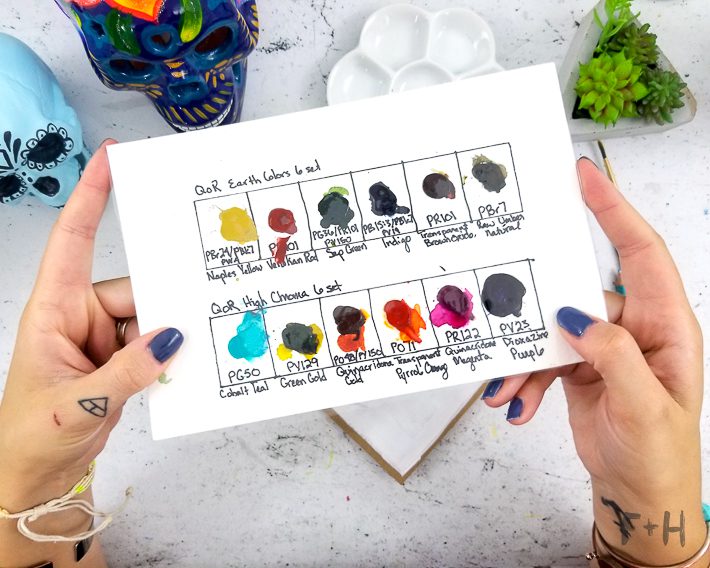
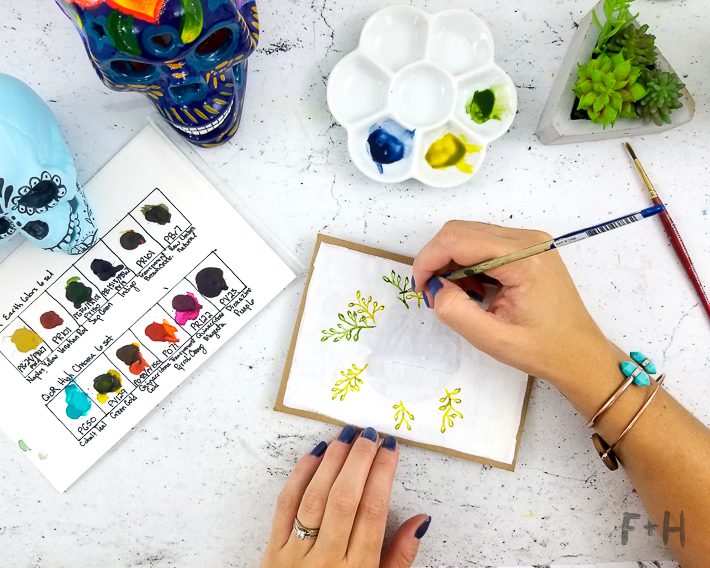
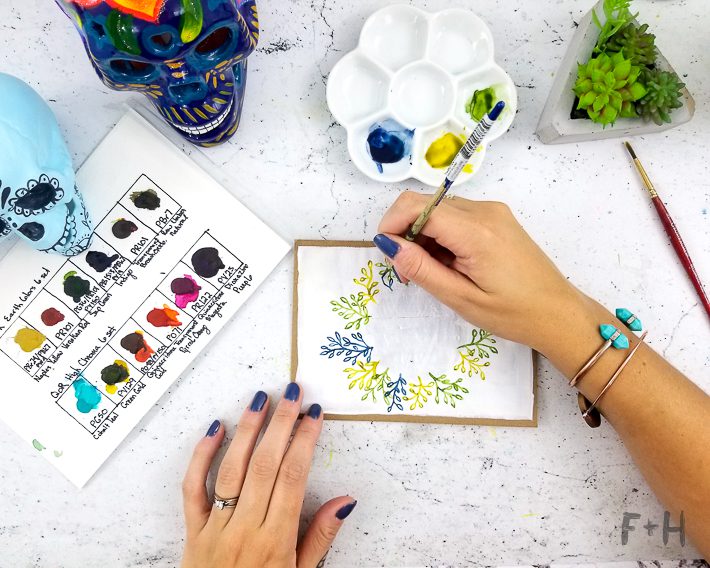
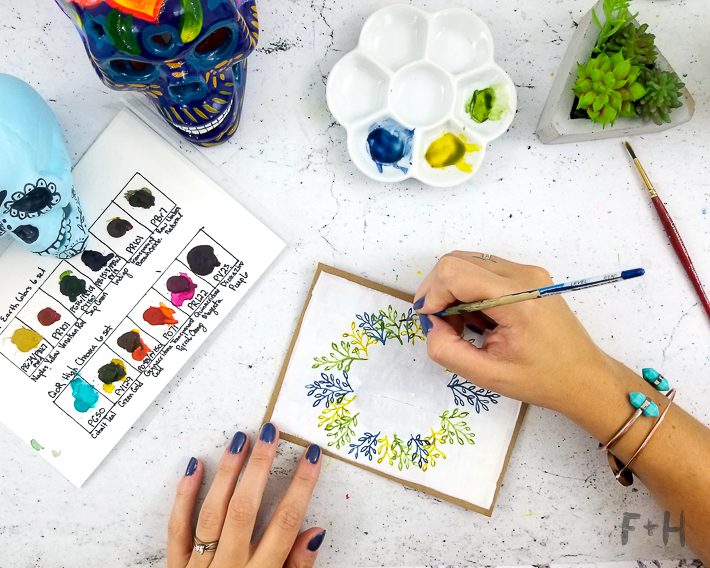
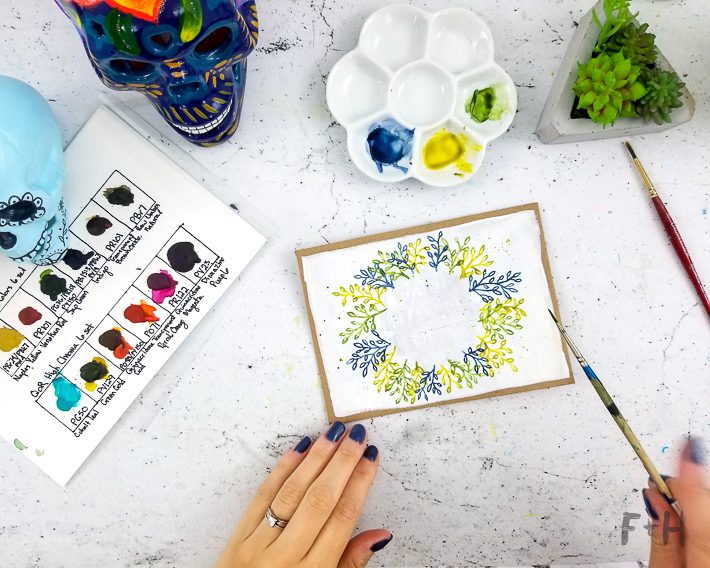
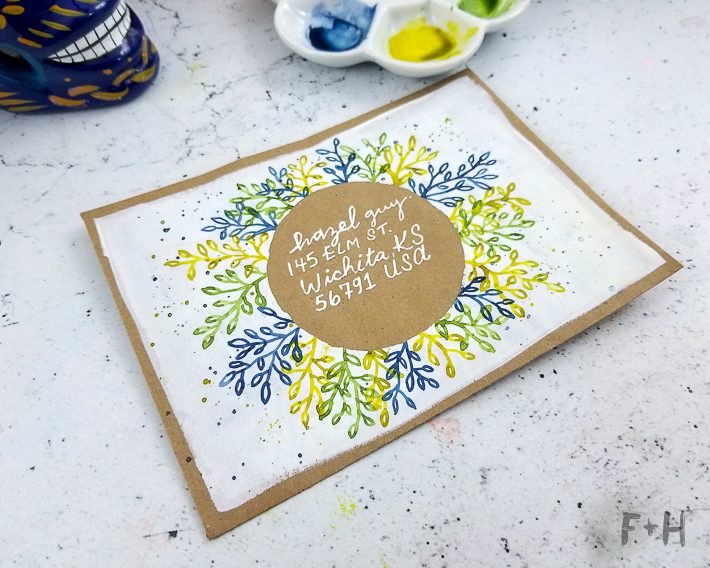
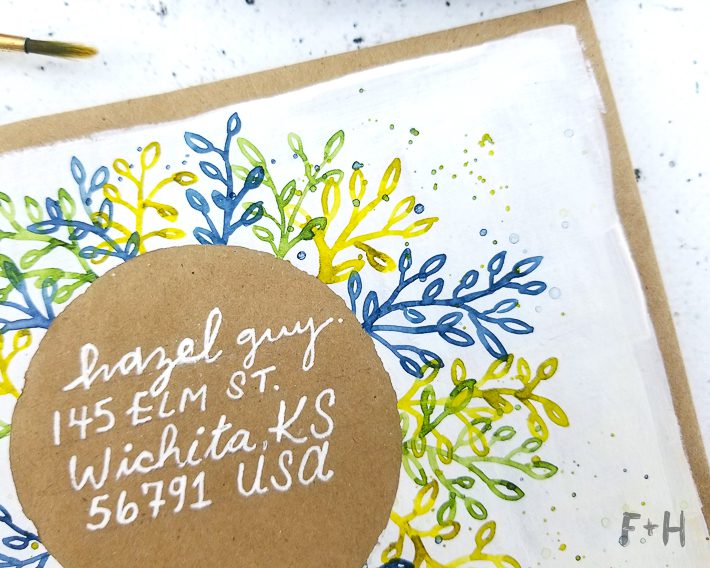
I used these QoR Watercolors to create this mail art envelope. These watercolors were sent to me from a lovely follower who was kind enough to make me a sample card! I wish I had full size tubes of all these colors because they are all so vivid and delicious! They are amazing! Starting with the green old I painted branches around the outside of the circle in regular intervals. I tried to not make them even or perfect because I wanted it to feel organic. Once I did the branches in Green Gold, then I went back and added branches in Sap Green. Then I filled in any remaining gaps with branches in Indigo. When everything was dry I added some splatters around it in all three colours.
Step Four:
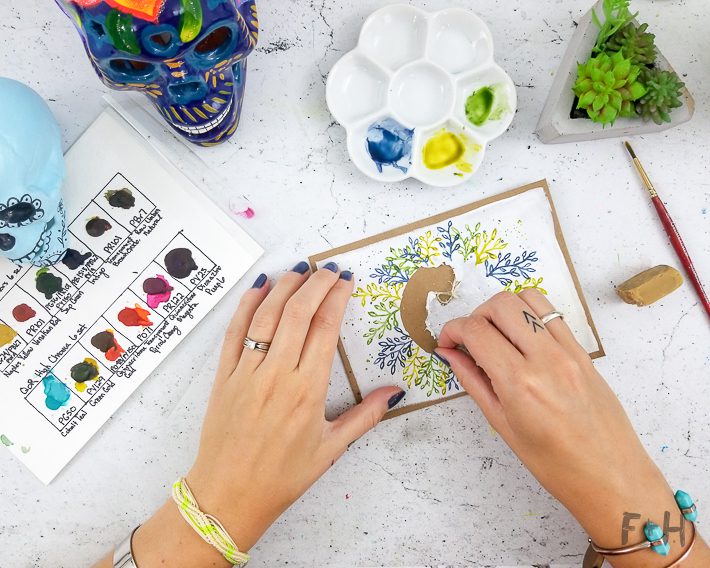
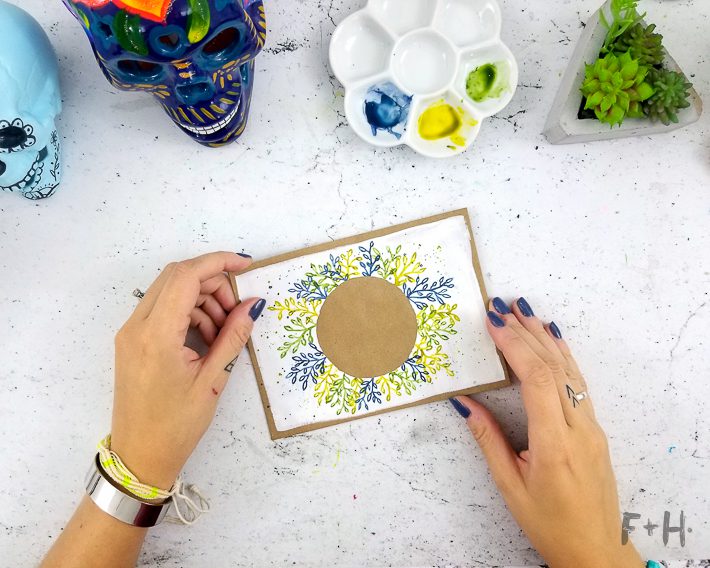
Once everything was completely dry I used an eraser and my finger to rub off the masking fluid on the circle. Some of the acrylic paint didn’t want to come off around the edges because it didn’t stick completely to the liquid frisket, so I just used a small craft knife to cut away any extra bits. It looks so cute!!
Step Five:
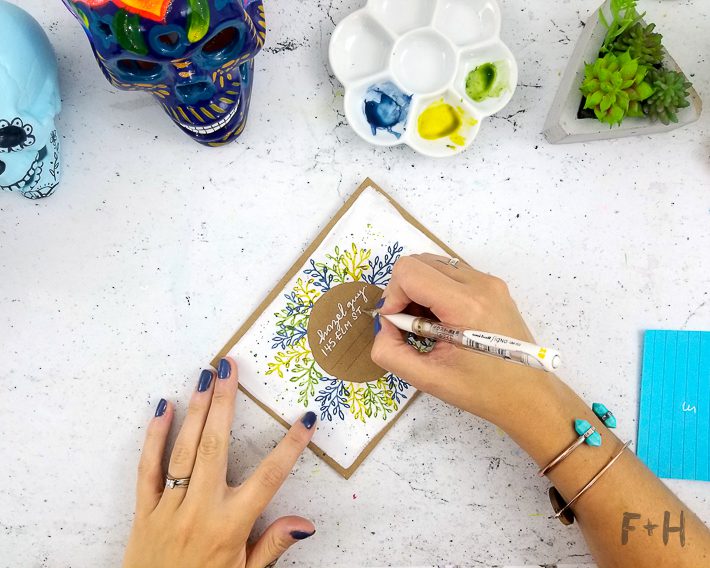
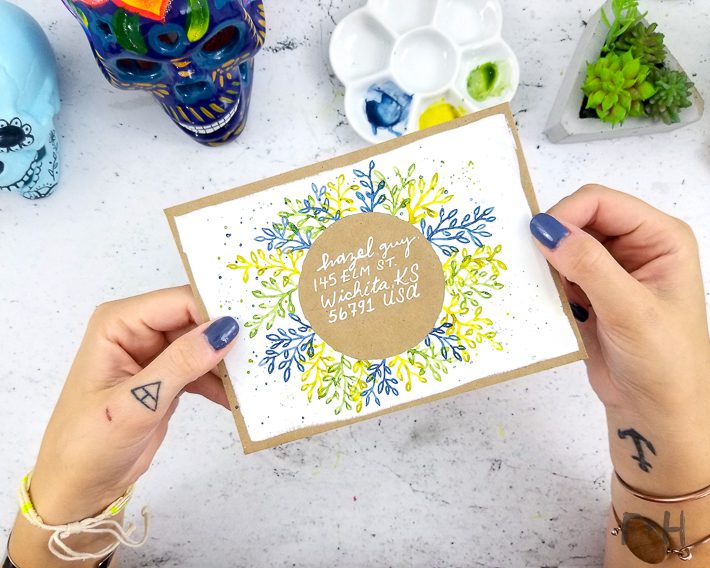
Lastly, I used a white gel pen (a Uni-Ball Signo Broad Gel Pen – my favourite!) to address the envelope. And it’s done! This mail art envelope is a snap to make with just a few supplies. Whoever you send this to will definitely have their day brightened! I hope this mail art tutorial will inspire you to pick up a pen and send some more letters to your loved ones!
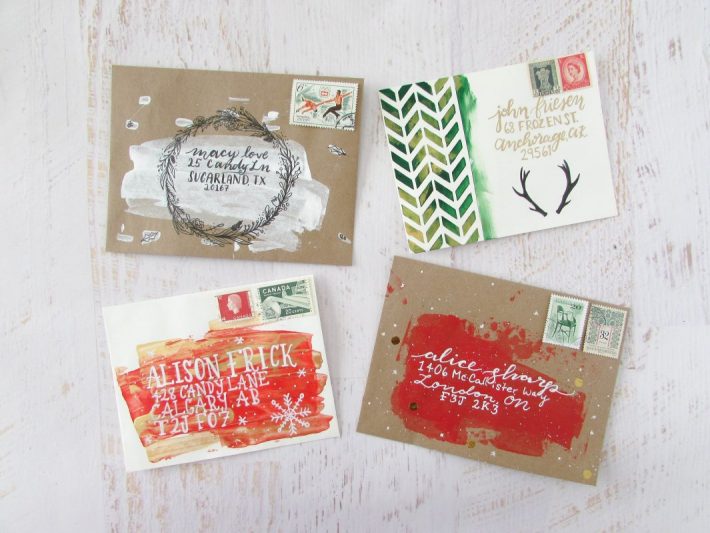
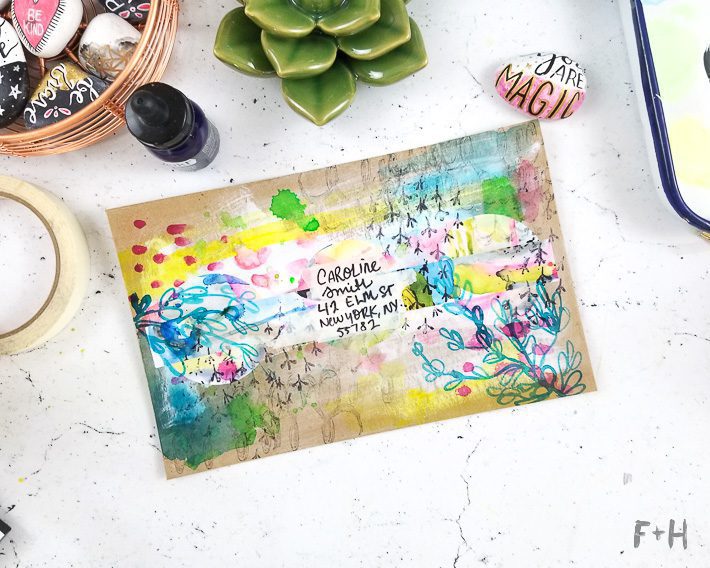
Want more mail art tutorials like this? Check out how to create this fun Mixed Media Mail Art Envelope and 3 Artsy Christmas Card Envelopes!
If you love this post, you can spread the love in one of these ways!